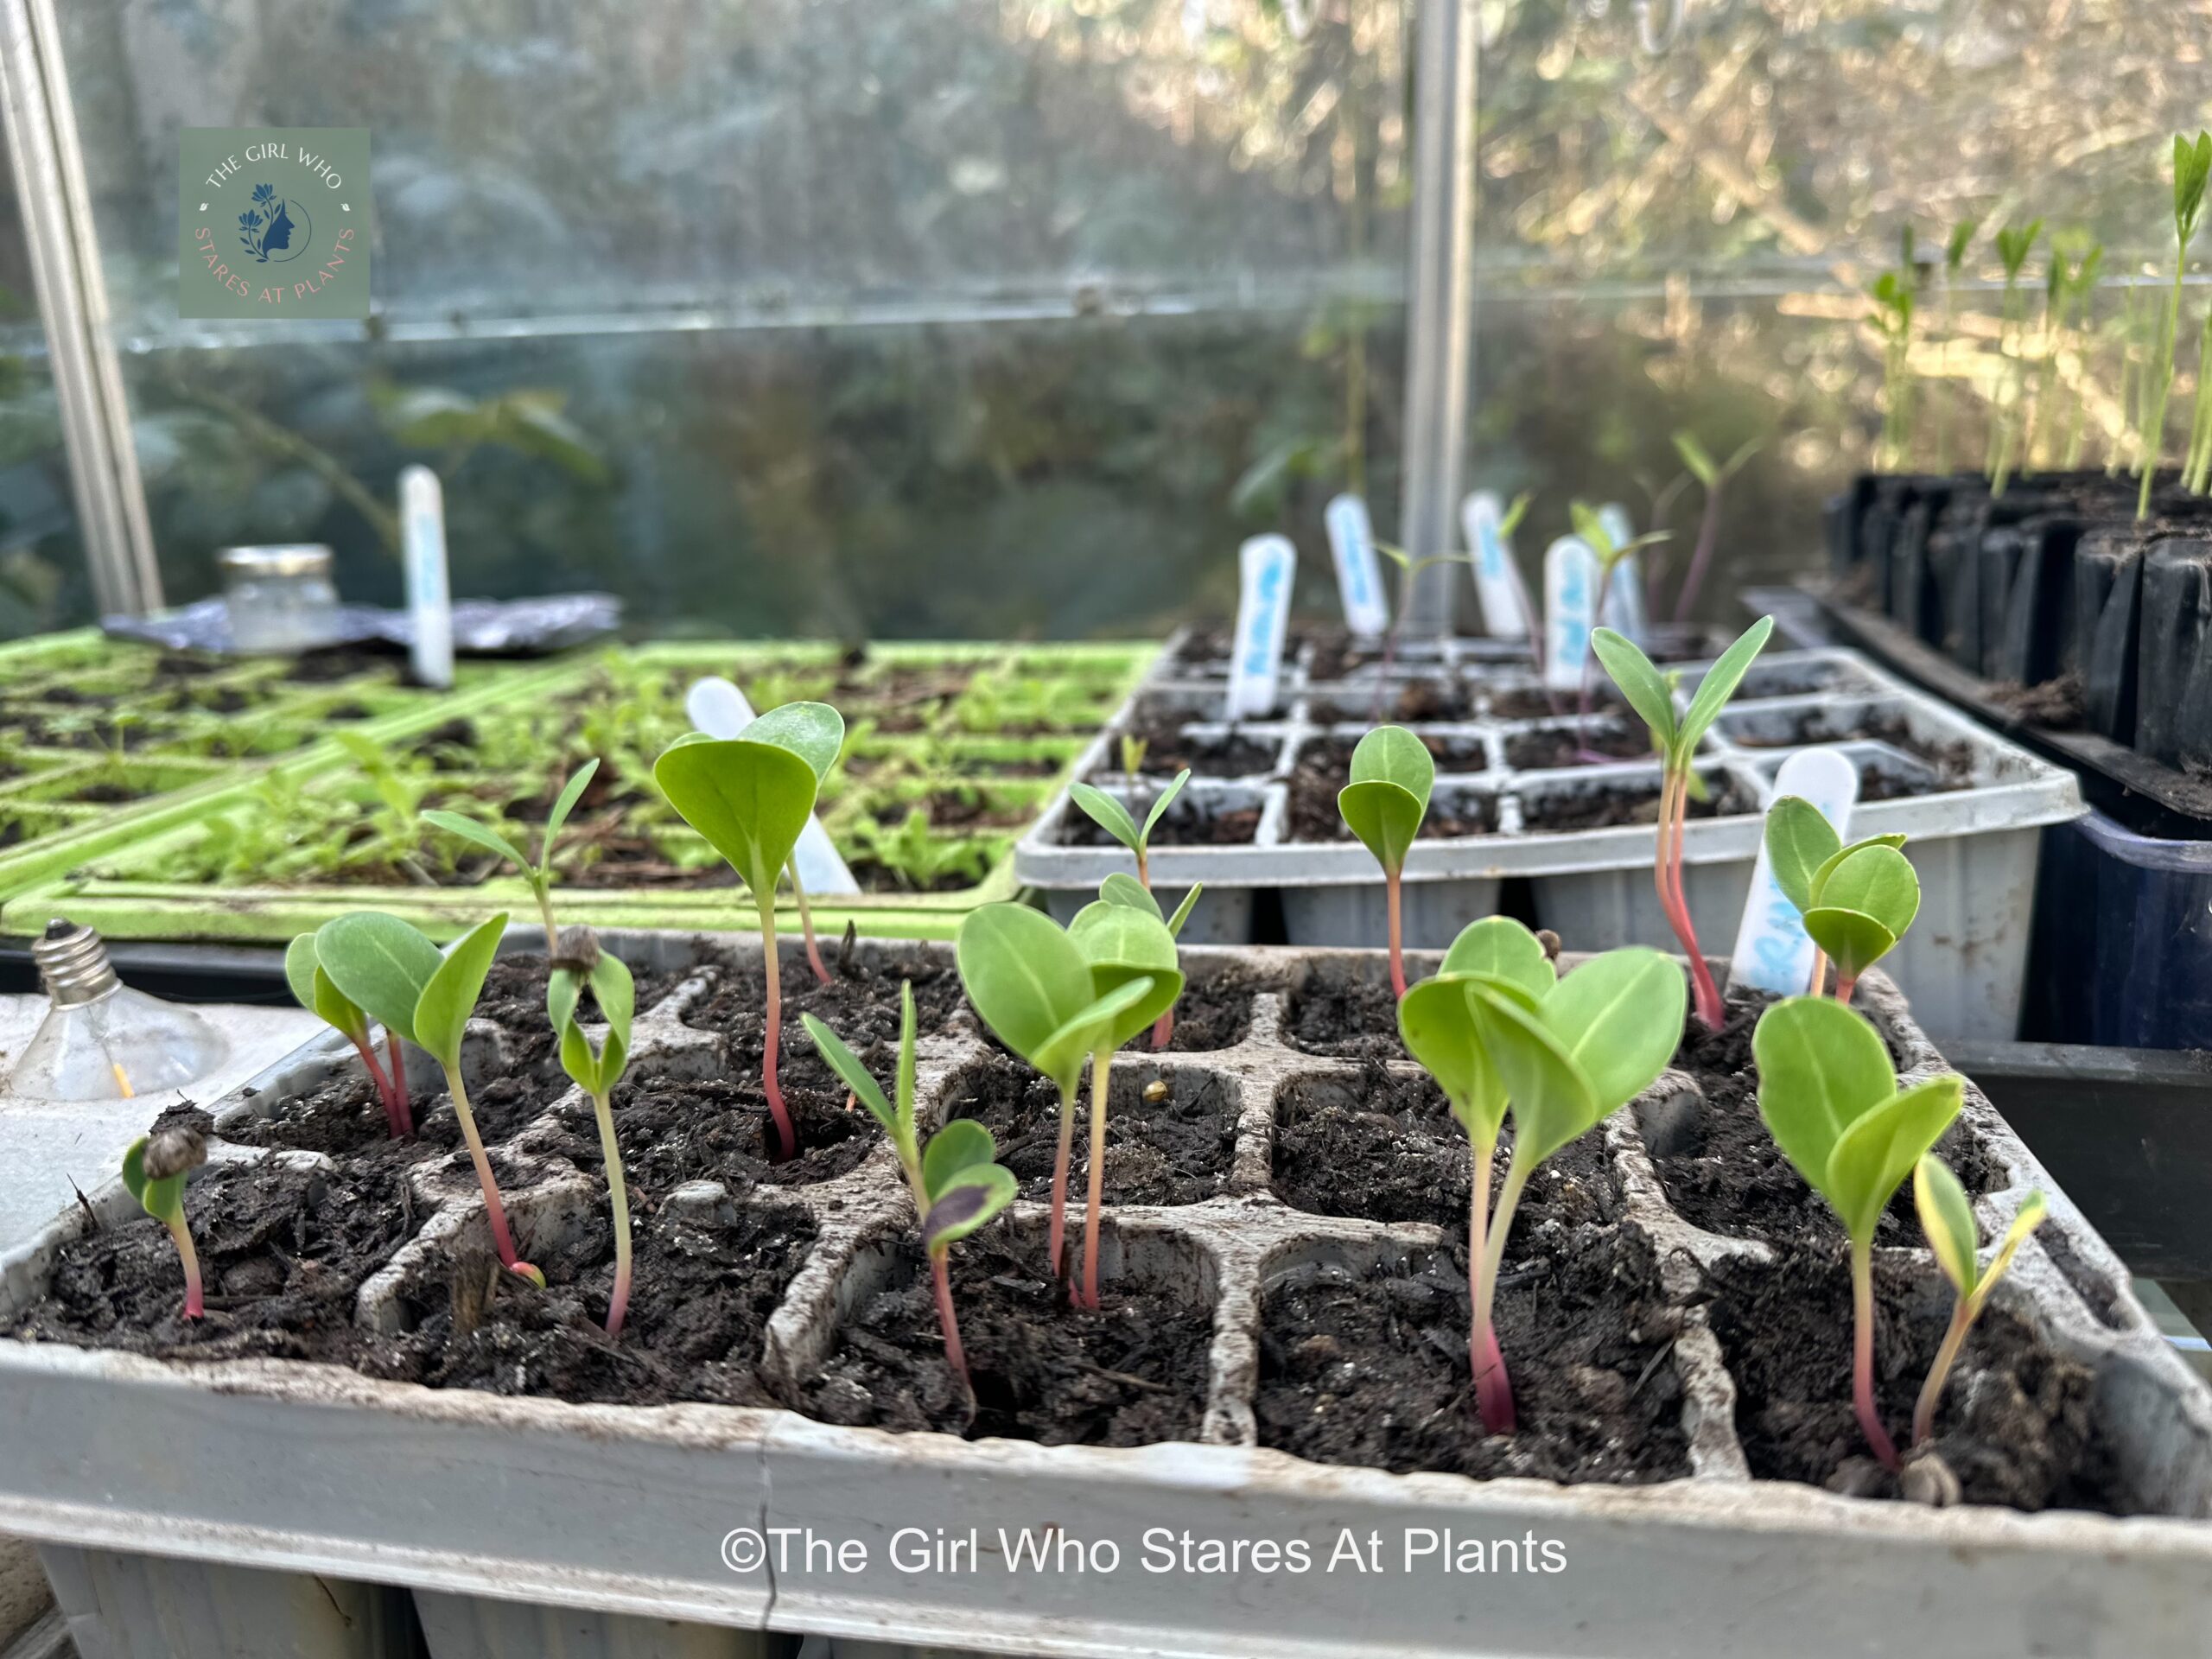
Introduction to easy propagation
Hello! Welcome to my post on easy propagation! Proper-what? Propagation!!
In this post, I will guide you through the most common processes of easy propagation to help your plants multiply, giving you more plants for your money, and more impact for your garden! Whilst there are many methods of doing this, I am going to try and keep it simple for you until you get the probation bug! Moreover, the more successful you are at this, trust me – the more addictive it gets! Therefore in no time at all, you will be filling your borders with loads of new free plants as well as giving them away as gifts, or swapping them with your friends.
- Definition
- Not every plant is the same
- Easy propagation so everyone can do it!
- Types of easy propagation
- Easy propagation – Seeds
- Easy propagation – Vegetative.
- Conclusion
Definition
/ˌprɒpəˈɡeɪʃn/
noun
- the breeding of specimens of a plant or animal by natural processes from the parent stock.”the propagation of plants by root cuttings”
“Don’t judge each day by the harvest you reap but the seeds that you plant”
Robert Louis Stevenson
Not every plant is the same
In general, most plants can be propagated in more than one way, but there are others which do better with specific methods. For example, you can grow trees from seed, but because they take a long time to mature, it is better to take cuttings as this gives you baby trees relatively quickly. Don’t worry about what ‘cuttings’ means, I will reveal all shortly!
Furthermore, I think that sometimes it is best to just look up whatever method suits the plant you want to have more of. For example, I have a book by the Royal Horticultural Society called “Propagating Plants”, and it tells you what plants are propagated, by which method and how to do it. Thus it is invaluable!
Easy propagation so everyone can do it!
Firstly, I am going to tell you a bit about the various types of propagation, and give you examples of how to do this. Whilst this can seem overwhelming at first, it is actually quite easy and I promise you will be able to do it! What I am NOT going to do, is give you complicated propagation techniques, nor go into scientific detail about the structure of seeds/leaves/branches. Therefore, if you need more detail for specific plants, I would recommend visiting the RHS website by clicking here.
Also, before I start talking about easy propagation methods, if you are relatively new to gardening, I would suggest you read my post on gardening glossary because I will be mentioning some of these terms and I want to make sure you know what I am on about!
Types of easy propagation
So, I mentioned in my post ‘The Ultimate Guide to Garden Planning Your Own Dream Garden’ that one of the best ways to work out whether plants will do well in your garden, is to look at how they grow in nature. Now, this is exactly the same for plant easy propagation, as we can learn a lot from how plants make baby plants. As a result, we can categorise propagation into two areas. These are a) seed propagation and b) vegetative propagation.
Easy propagation – Seeds
Now, there is one very distinct difference between these areas, and it can be compared to human reproduction. Seed propagation is akin to having babies, so the ‘offspring’ of the plant (seed) is created by pollination. And yes, this is referred to as sexual reproduction. I will bet this makes you look at seeds differently now 😉. So the seeds of a plant do have differences to the parent, much like a parent and child. Like humans, it allows the plant to reproduce and evolve to their environment.
What does this mean for the gardener? Well, you may get minor differences between your plants when you grow them from seed. They will probably be almost unnoticeable as they occur at a genetic level but they will be there. Equally, using seeds to reproduce your plants, means you can get lots of the same plant for very little cost (if buying seeds from the shops), or for free (if you collect your own seeds). BARGAIN!
How to ensure your seeds grow
To germinate, i.e. sprout and start growing, all seeds generally need three things.
Firstly, good soil. Now I spent many years using any old soil I had laying around, and whilst this does work it can also be really disappointing when it doesn’t. So now, I give my little seedlings the best start with sieved garden compost or a bought special seed soil.
Secondly, in general, seeds need to be lightly covered. Think of this as tucking them in for night. You can use a thin sprinkling of the same compost you are using to sow in, or a different medium. I like vermiculite which is a light substance that keeps your seeds moist but without allowing them to rot. Also, you could use potting gravel for the same reason. However, it should be noted, that some seeds don’t like to have light excluded, so you sow them on top of the soil and don’t cover them. If in doubt….READ THE PACKET!
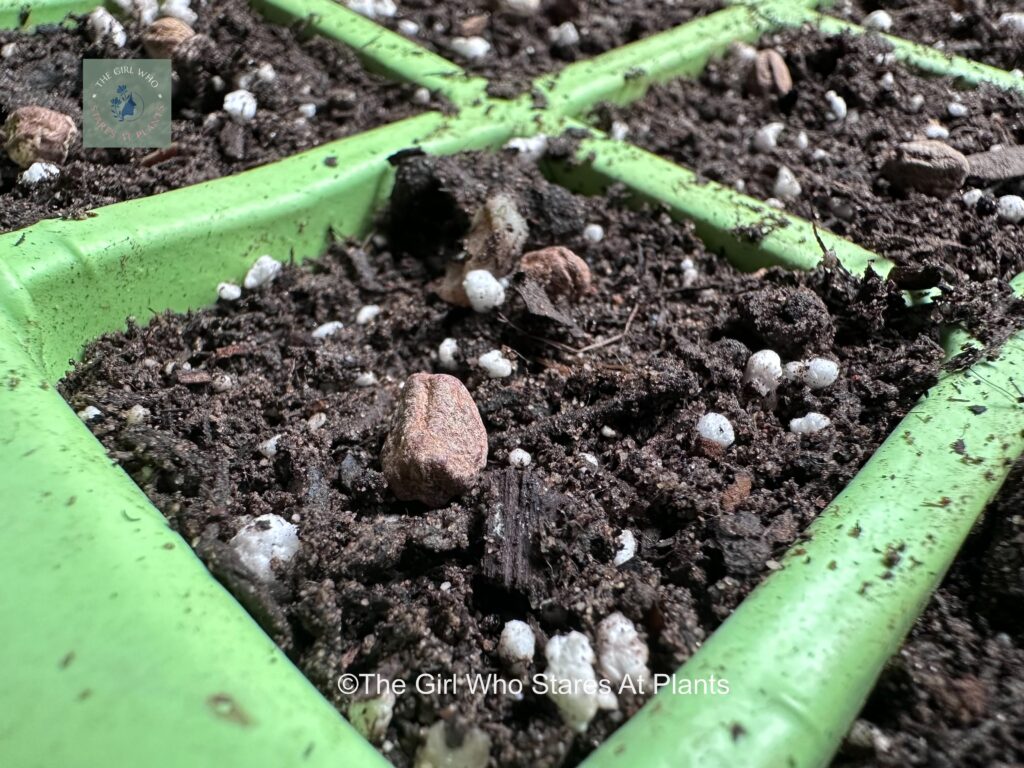
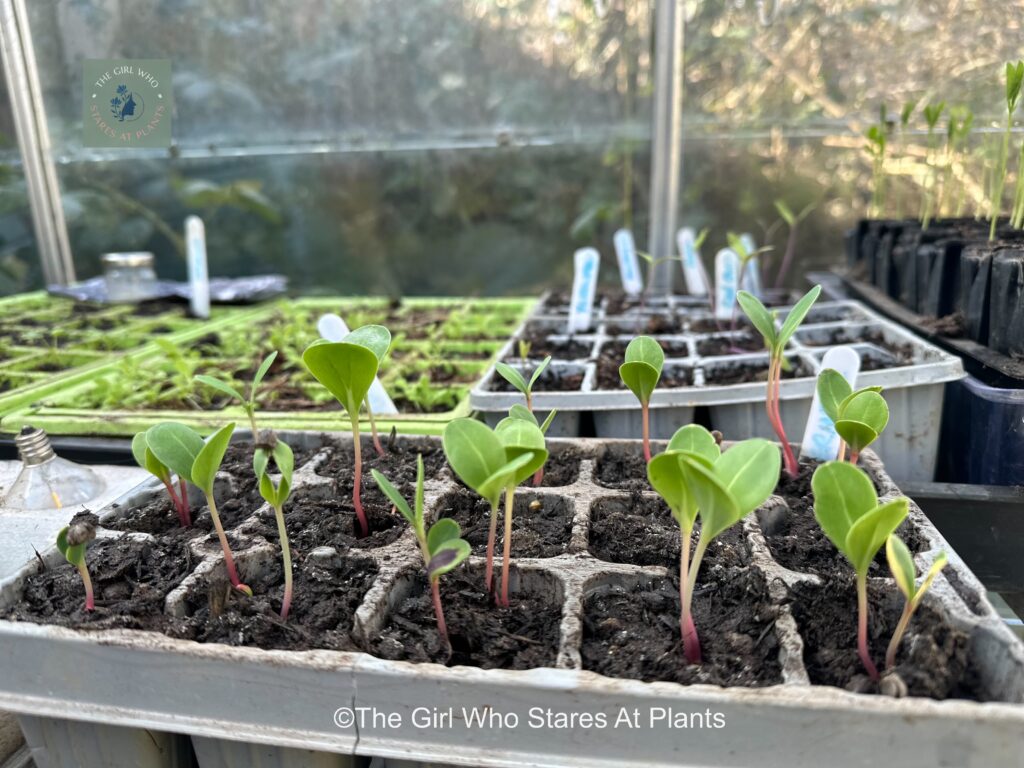
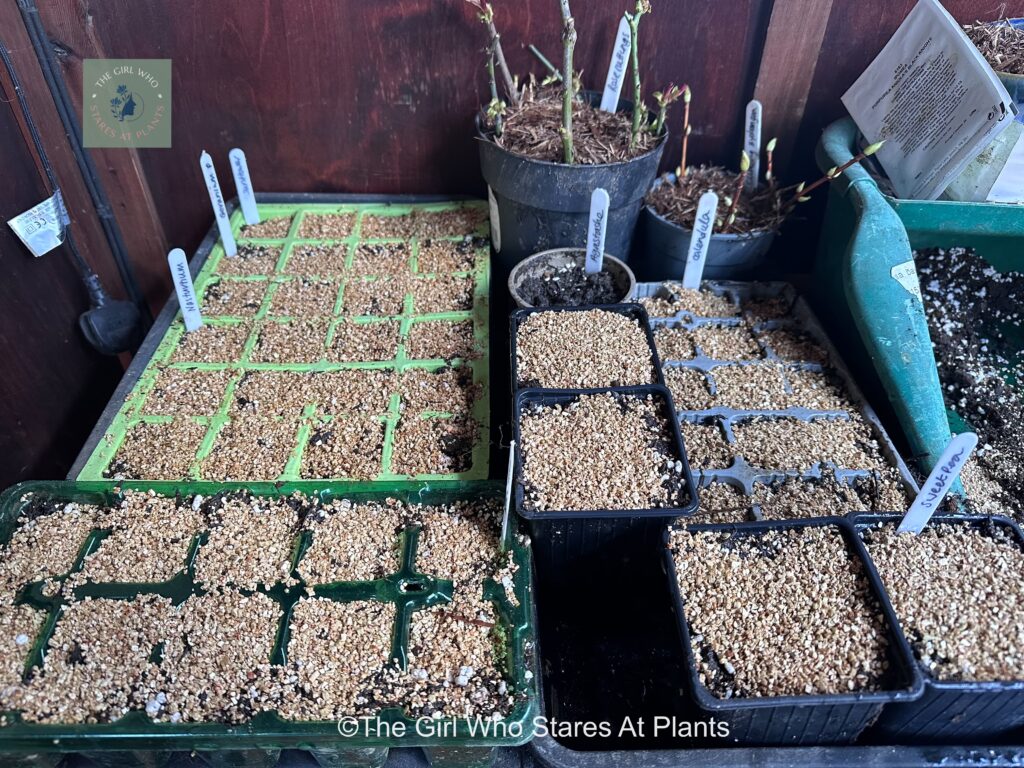
Lastly, you need to make sure your seeds are kept moist. Some seeds like sweet peas do better if you soak them to soften their outer shells. Although, I’ll let you into a little secret, I don’t do this, and they seem to grow ok for me!
Easy propagation – Vegetative.
So, if seeds are like offspring, think of vegetative propagation as clones of the original plant. And there are so very many ways of cloning! In fact, this type of easy propagation is a really good way of getting bigger stronger plants quicker.
Also, there are several ways to do this and I am going to give you a crash course into what these are and how to do it. So let’s start with what I think is the easiest way first.
The easiest propagation – division
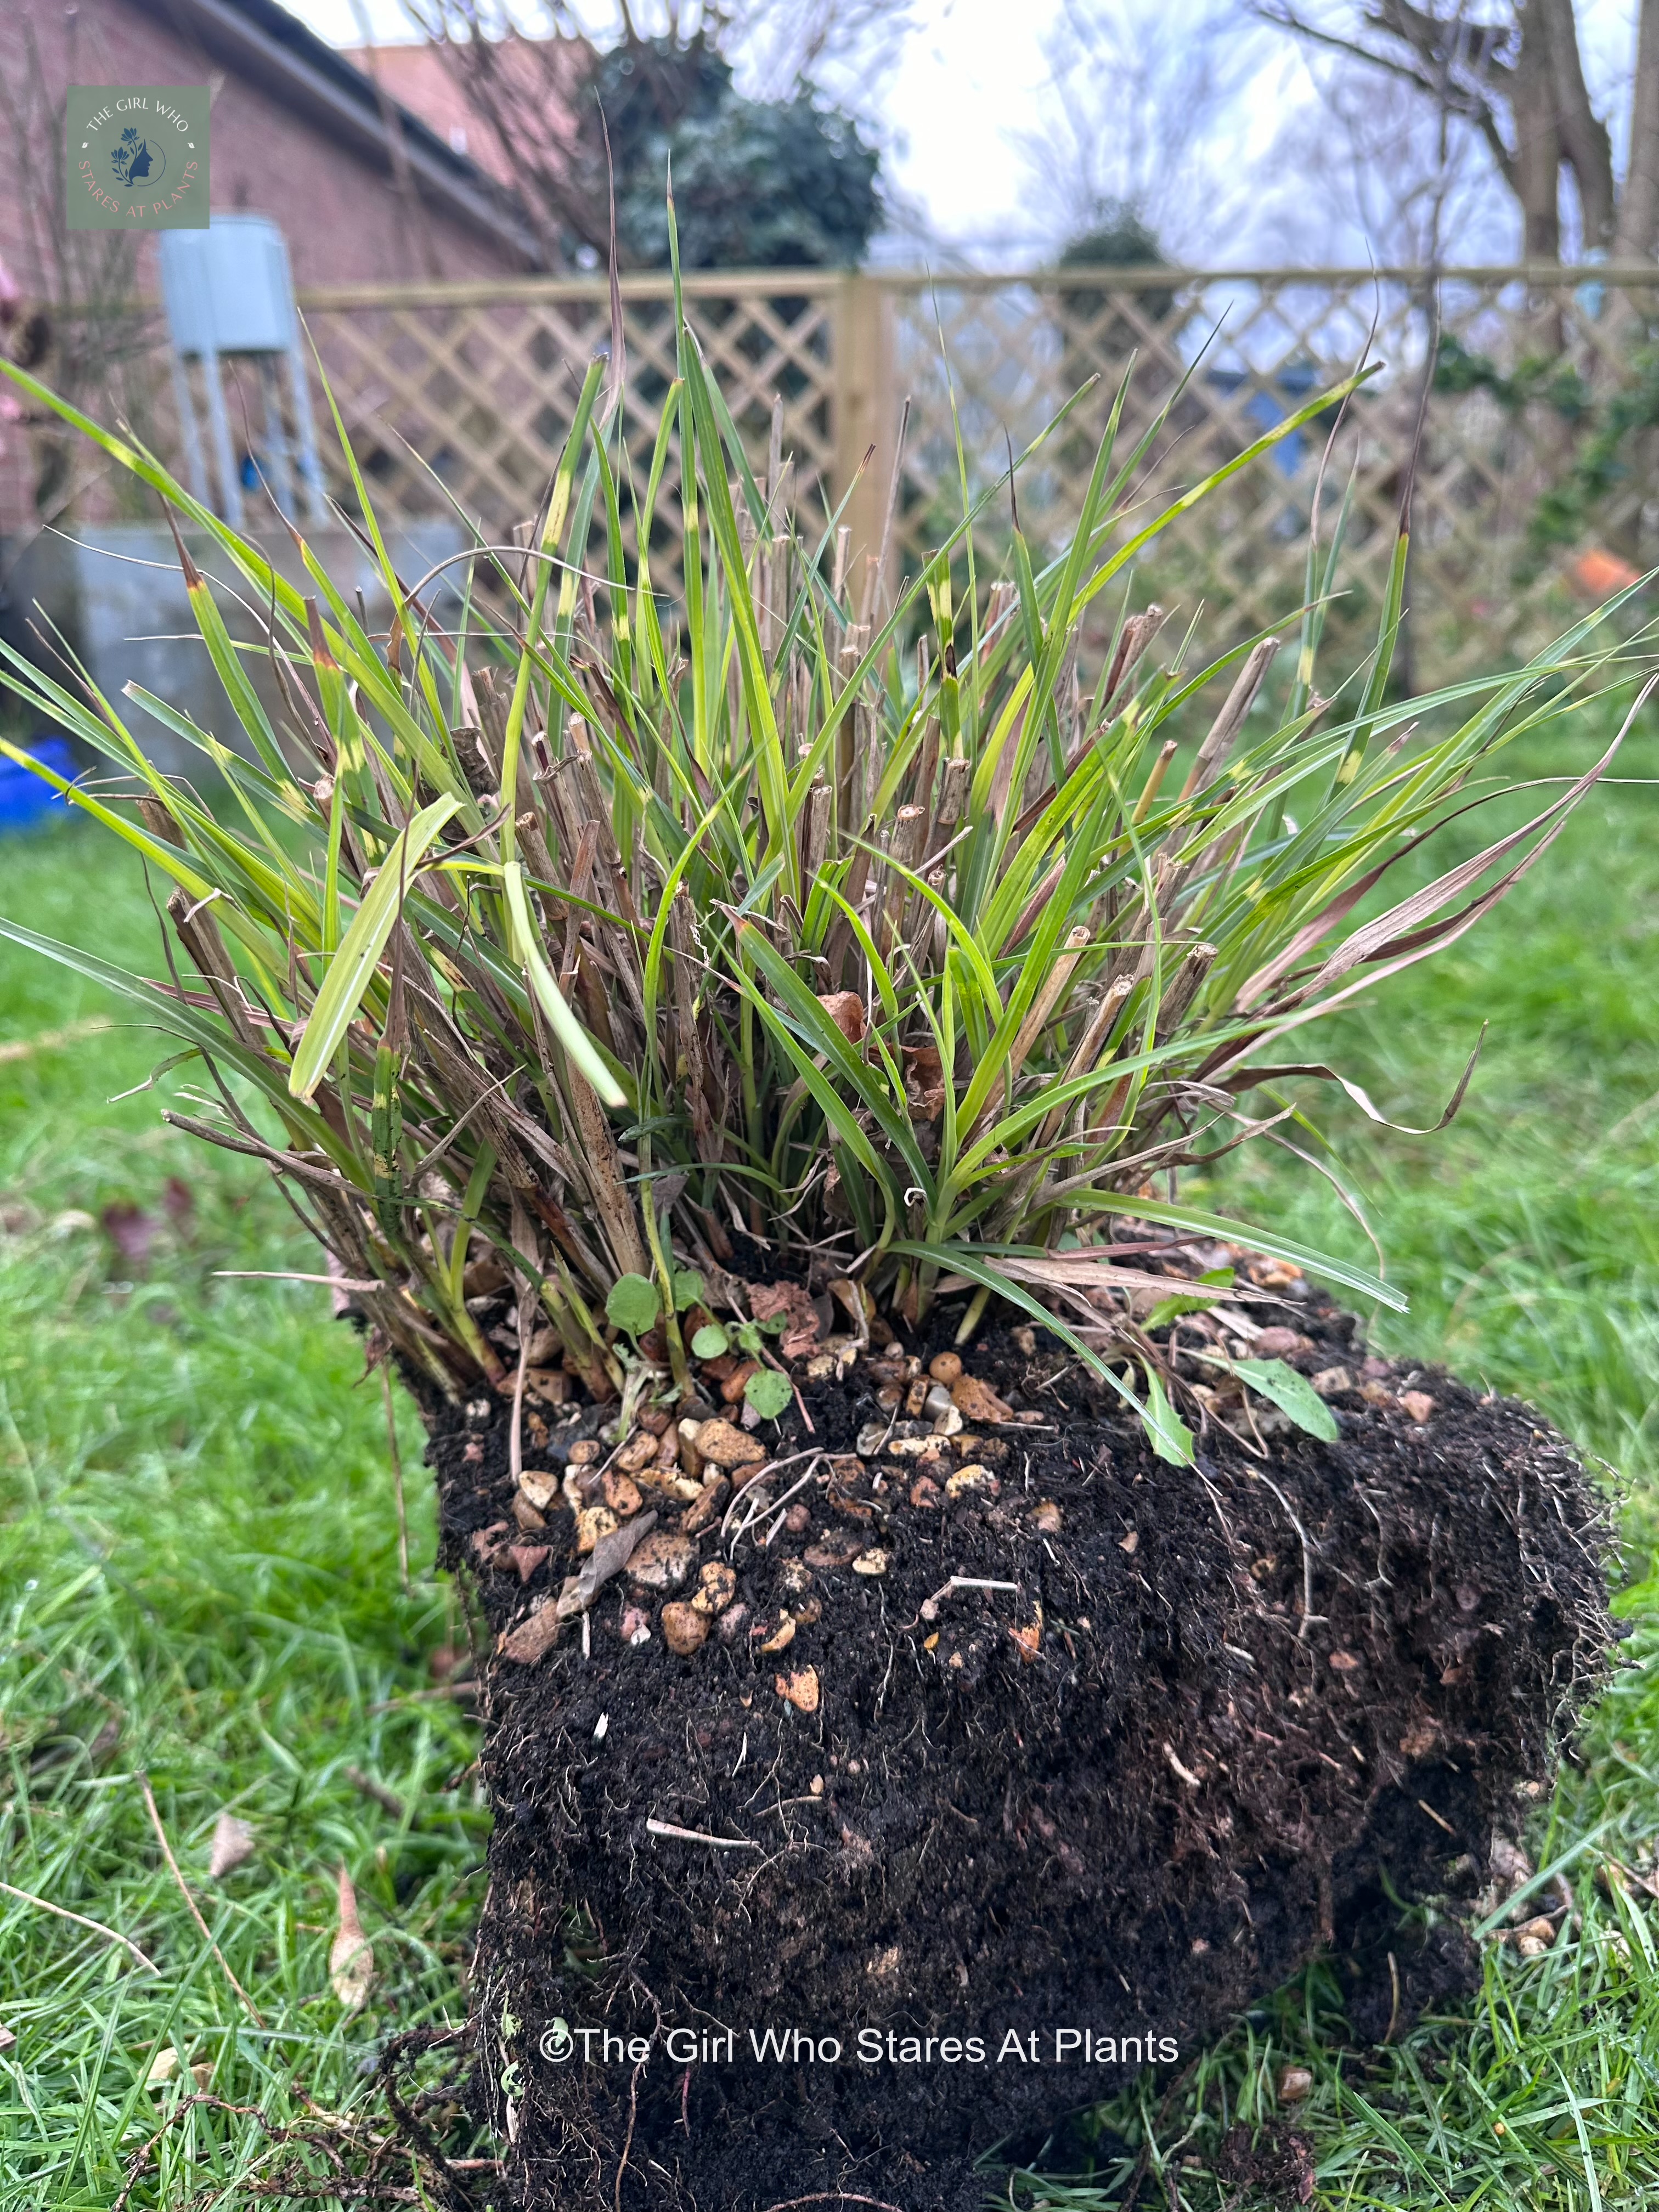
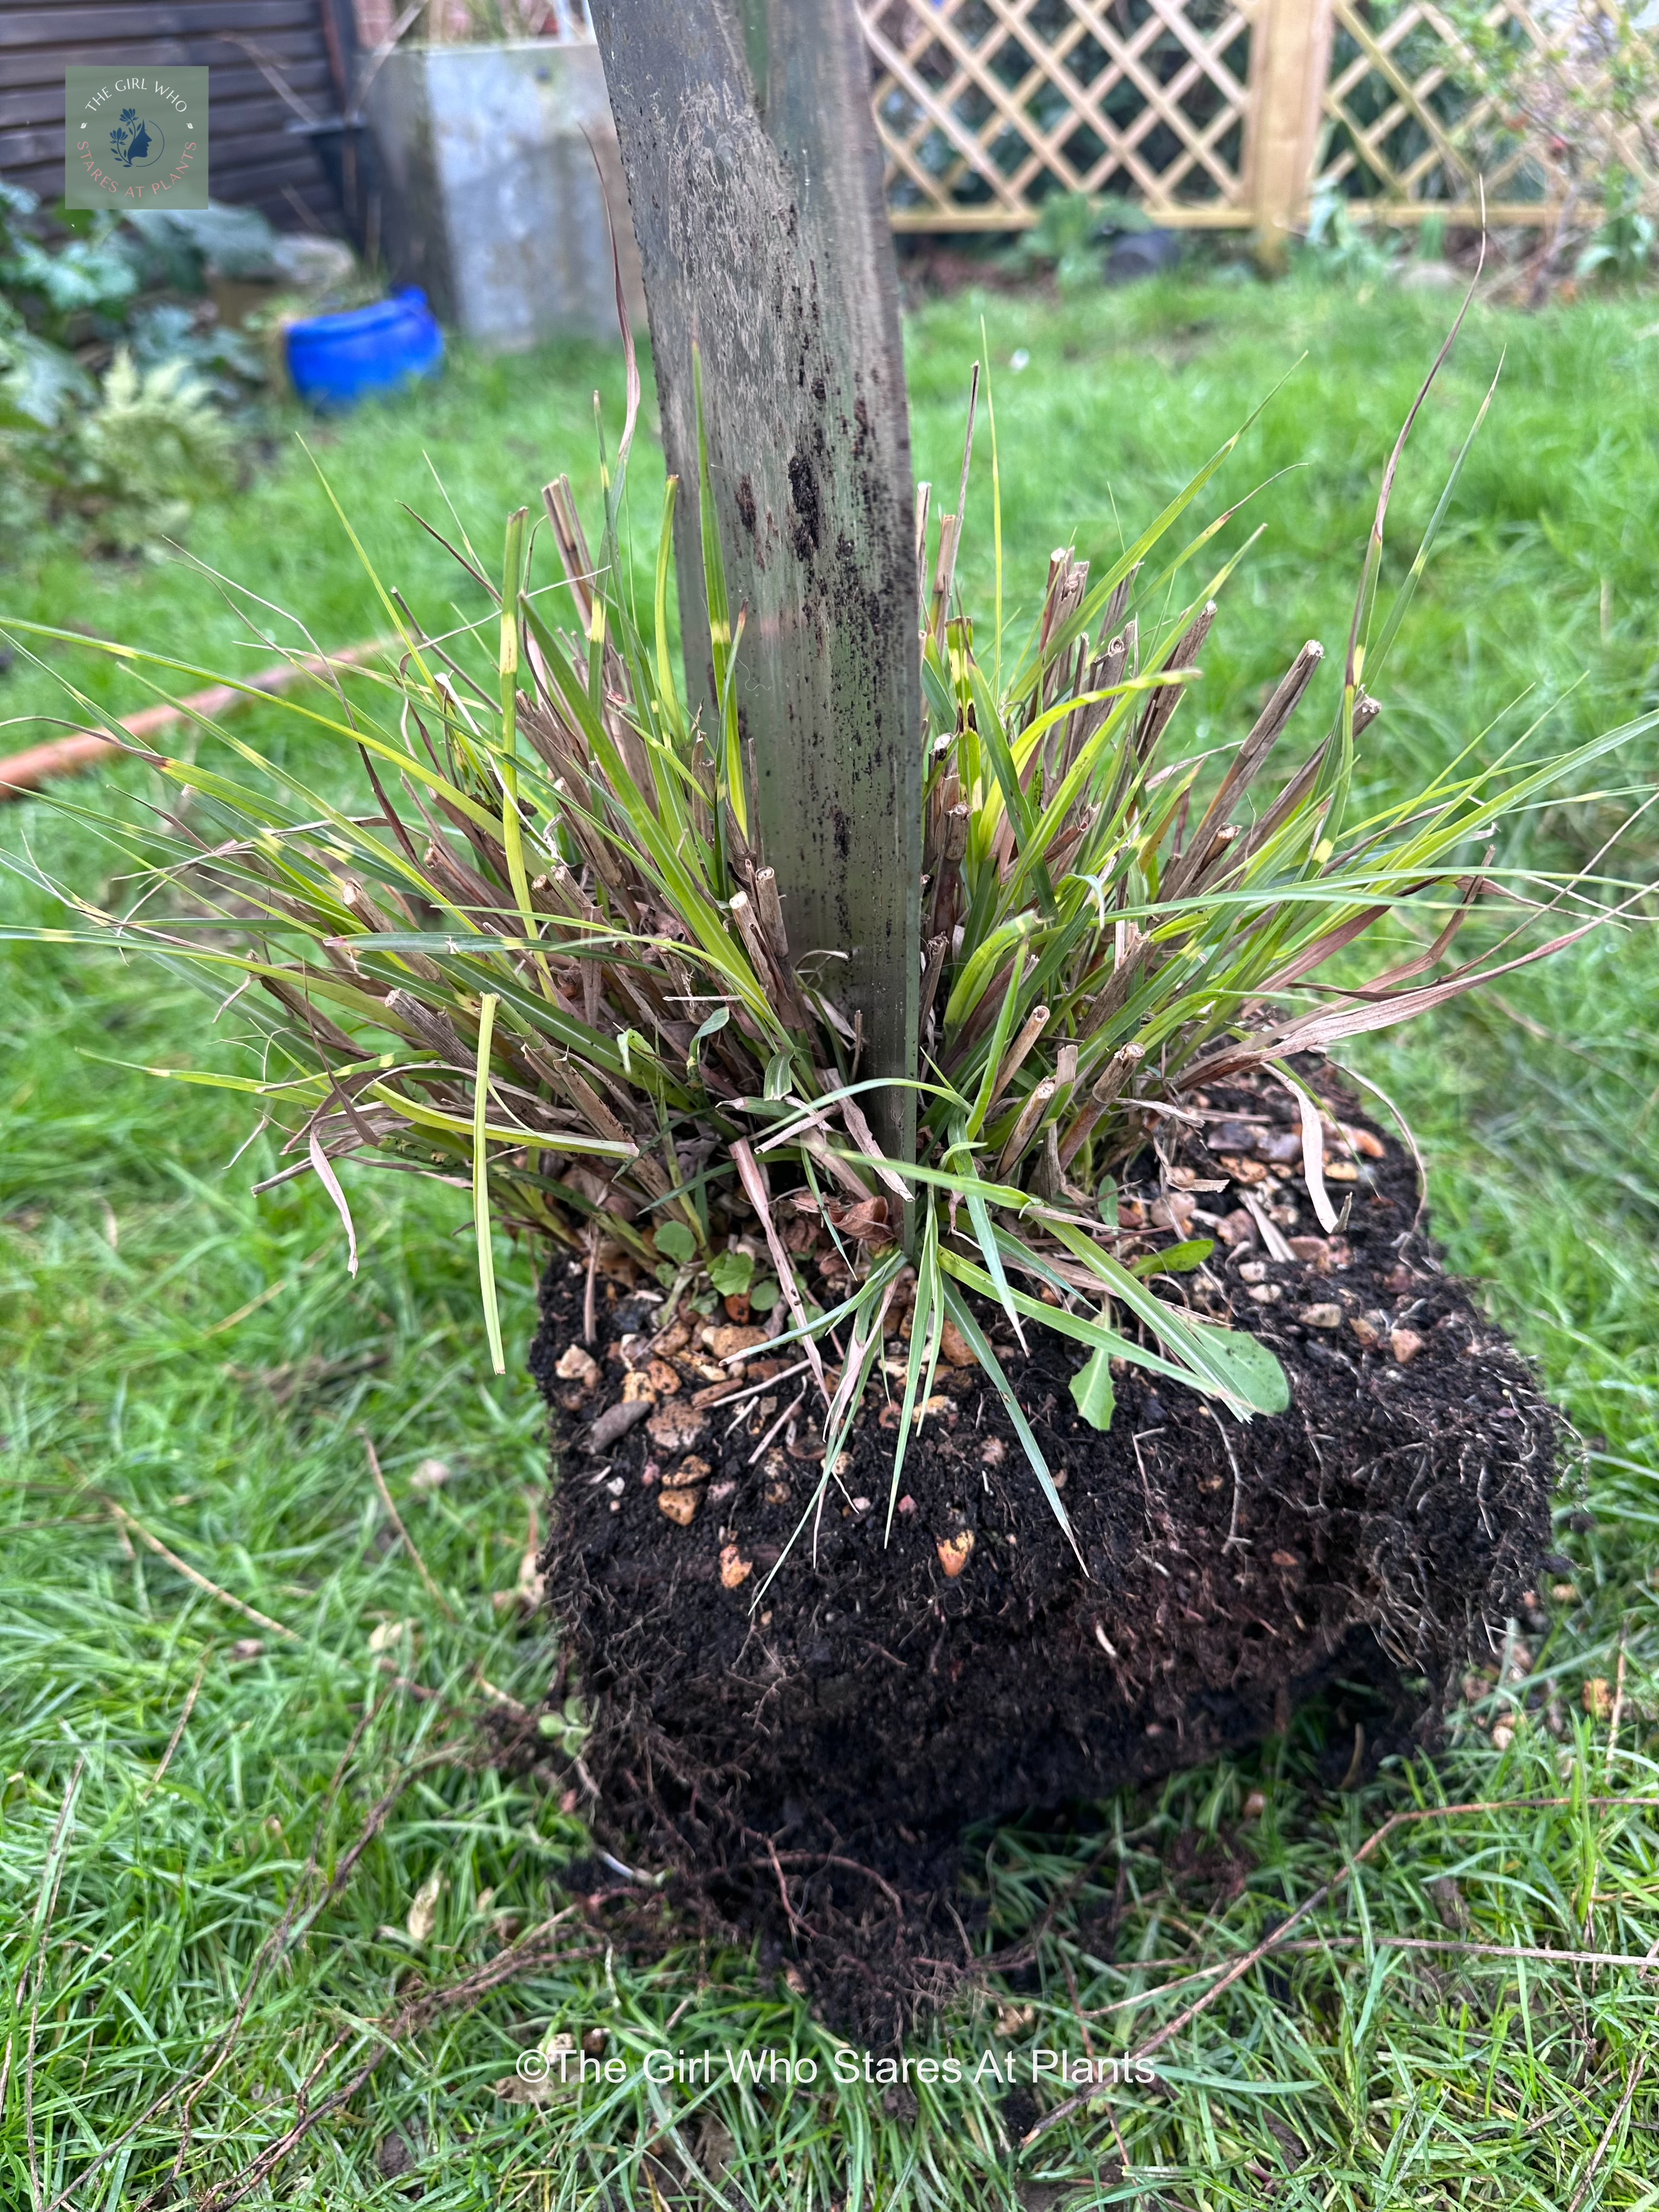
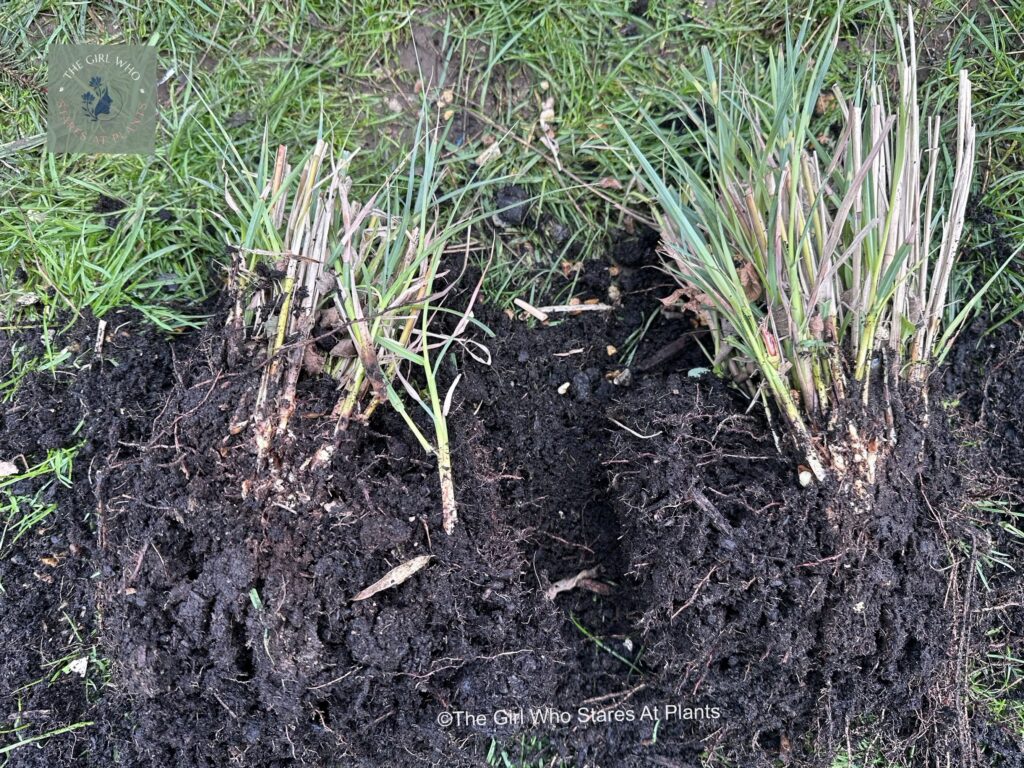
For me, this is probably the easiest way of multiplying your plants and has the added benefit of keeping them healthy and growing! So, all you are doing here is splitting the plant. Now, providing the smaller plants have a root and at least one shoot/bud, your plants should grow. So, try not to rip your plants apart like the hulk, and treat them with a little bit of care. Then as a result, you can take one plant and make loads of little plants that will eventually grow into full size plants. It works really well for grasses, geraniums and any plant that forms clumps and spreads out.
Super easy propagation – layering
Next, I will talk about layering. Actually, there are quite a few different ways of doing this so I am not going to go into all the details here. However, if you do want to read more about it then this then have a look this part of the RHS website https://www.rhs.org.uk/propagation/layering.
Natural layering
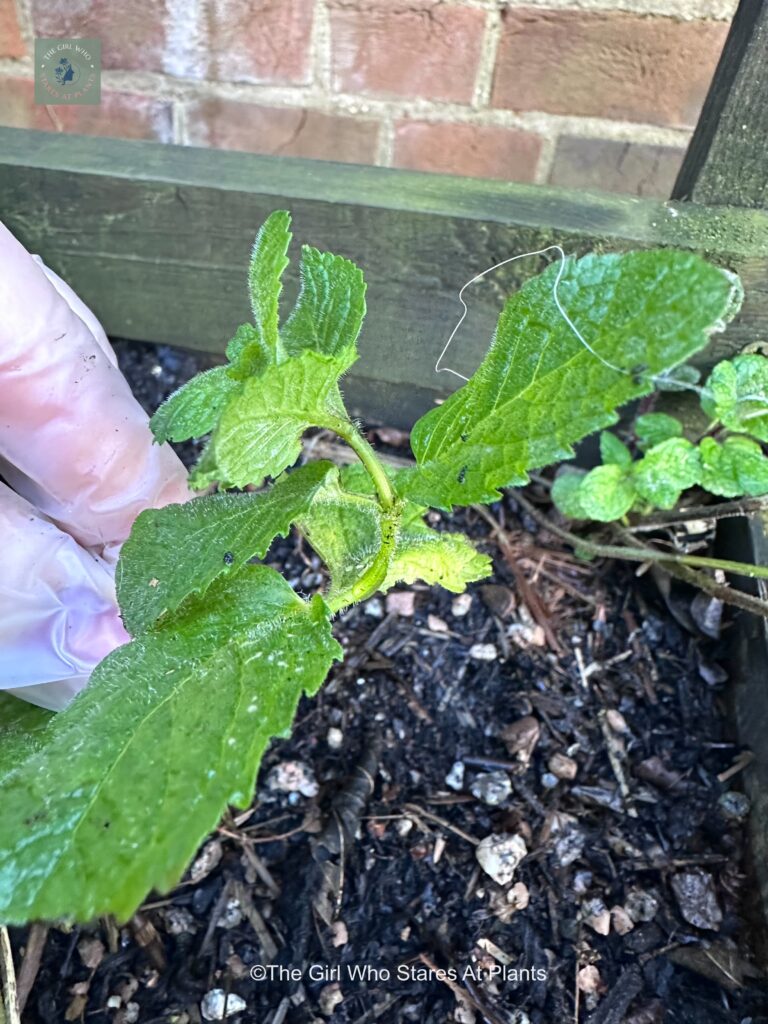
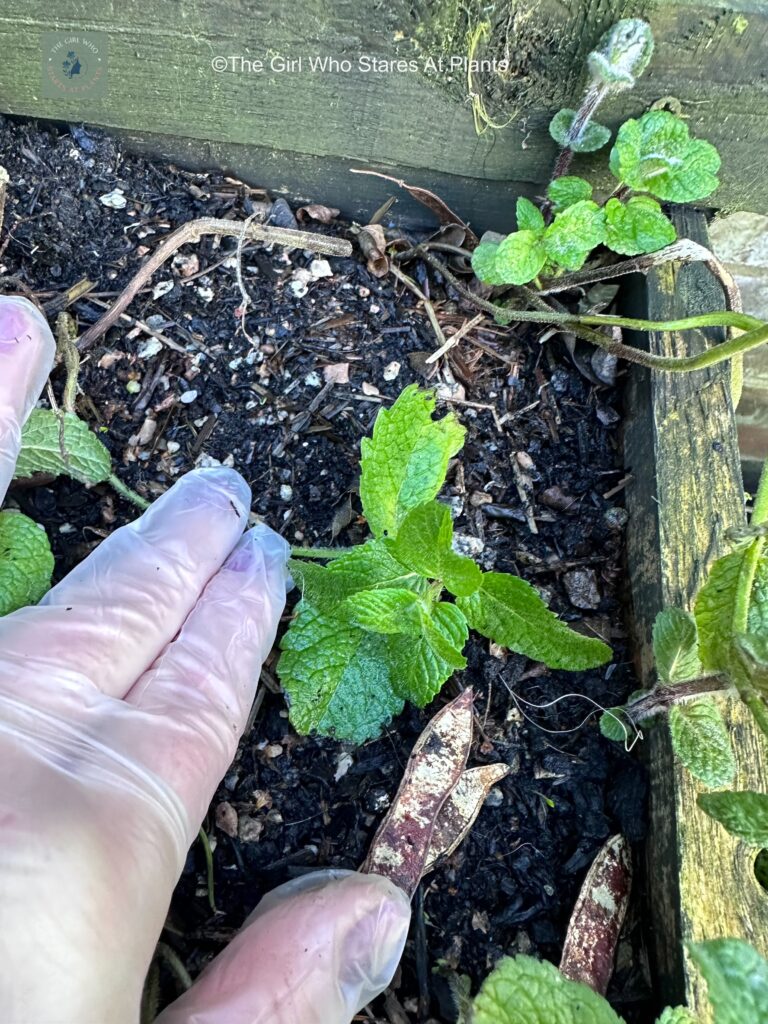
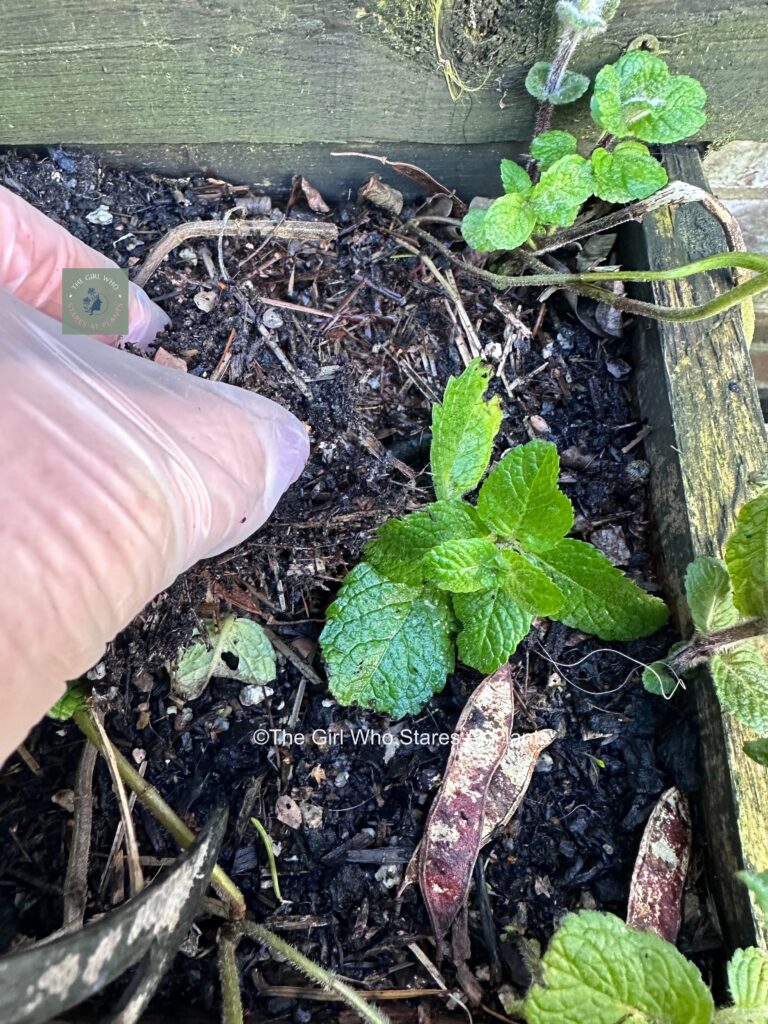
Firstly, I am going to tell you about natural layering as this is the easiest way of layering. So, take a piece of the plant that is still attached to the parent plant and pin it to the soil. Because it’s still attached, the parent plant is feeding it whilst the new roots grow. Then, in a short period of time your stem will have roots of its own 🤞 and you can snip that piece away from the parent plant. Boom, you have a new plant! Strawberry’s do this with their “runners” (I like to think of this as the babies trying to run away from their parents).
Induced layering
Next, let’s discuss induced layering. Whereas natural layering uses the plants tendencies to layer by themselves, induced layering forces the plant to grow along the ground, again by pinning it to the soil. As a result, several baby shoots grow vertically from the layered stem. Finally, when the baby shoots have their own roots, you can cut the layered stem and dig up your new baby plants. And if t all goes well, you may have several!
Really easy propagation – Cuttings
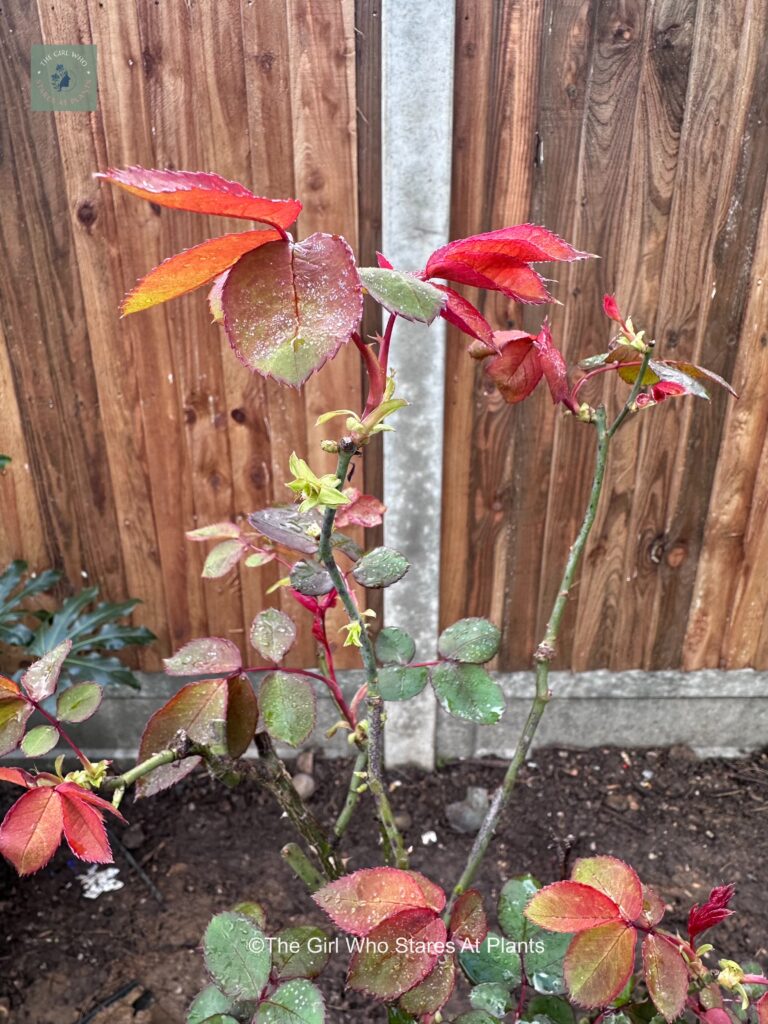
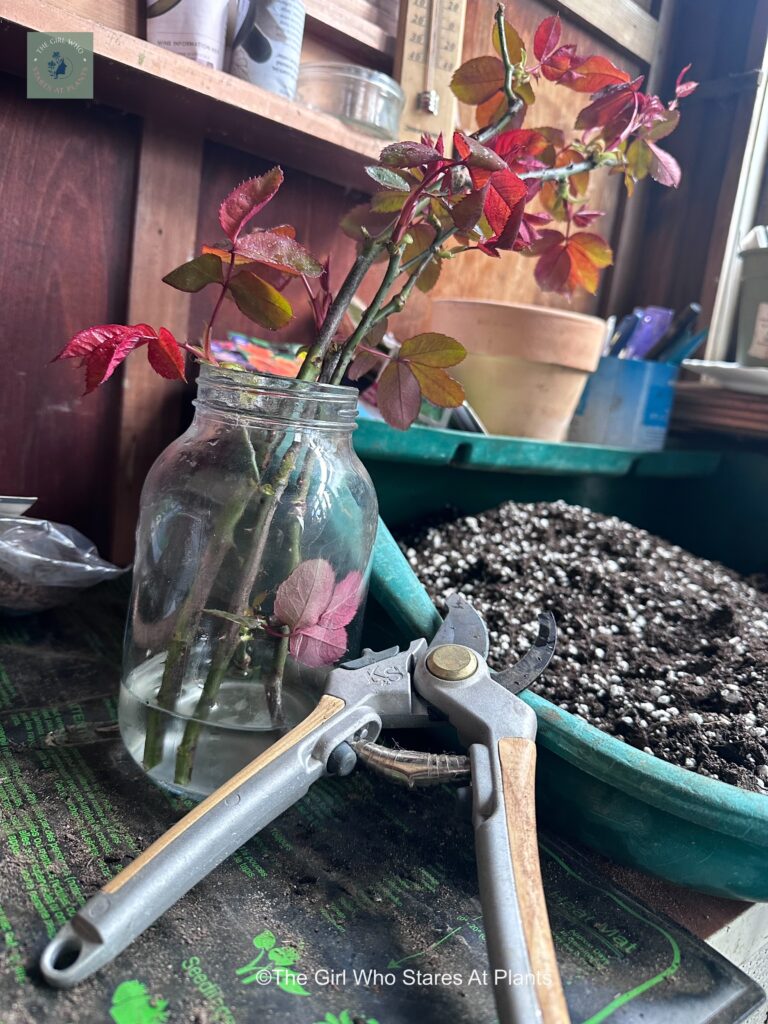
The last topic I want to cover in this post is cuttings. I take quite a few cuttings and I find in general that they are successful. For example, the year I moved house, I took loads of rose stem cuttings from the plants I loved the most, in the vain hope I could take little baby rose plants with me to the new house. And they worked! This was the exact moment I realised how easy it is to take cuttings.
Again, this is a meaty subject of itself and I am not going to go into massive detail for each category. So I refer you back to the RHS website for more details.
Different types of cuttings
Firstly, you can take three different types of cuttings. These are stem, leaf and root cuttings. Additionally, there are several subcategories of both stem and leaf cuttings which relate to the age of the material you are cutting. I am going to talk mainly about stem cuttings as I find these more useful for the plants I grow. Therefore I am skipping over leaf and root cuttings in this post. At some point, I will expand my use of leaf cuttings, and I encourage you to do the same, but for now I will stick to what I know.
So for a brief run down:
Stem cuttings
- Softwood: the new green shoots of the plant. Dahlia softwood cuttings are good ones to try.
- Greenwood: these cuttings are slightly aged versions of the softwood.
- Semi ripe: You guessed it, the stem has matured even more and is therefore easier to propagate.
- Hardwood: cuttings from stems that have matured and hardened, but are still young enough to bear roots.
There are also a few ways of making your cuttings, which include wounding and heel cuttings. Again, I am going to skip over this and tell you about the main one ‘s I use which are nodal and internodal.
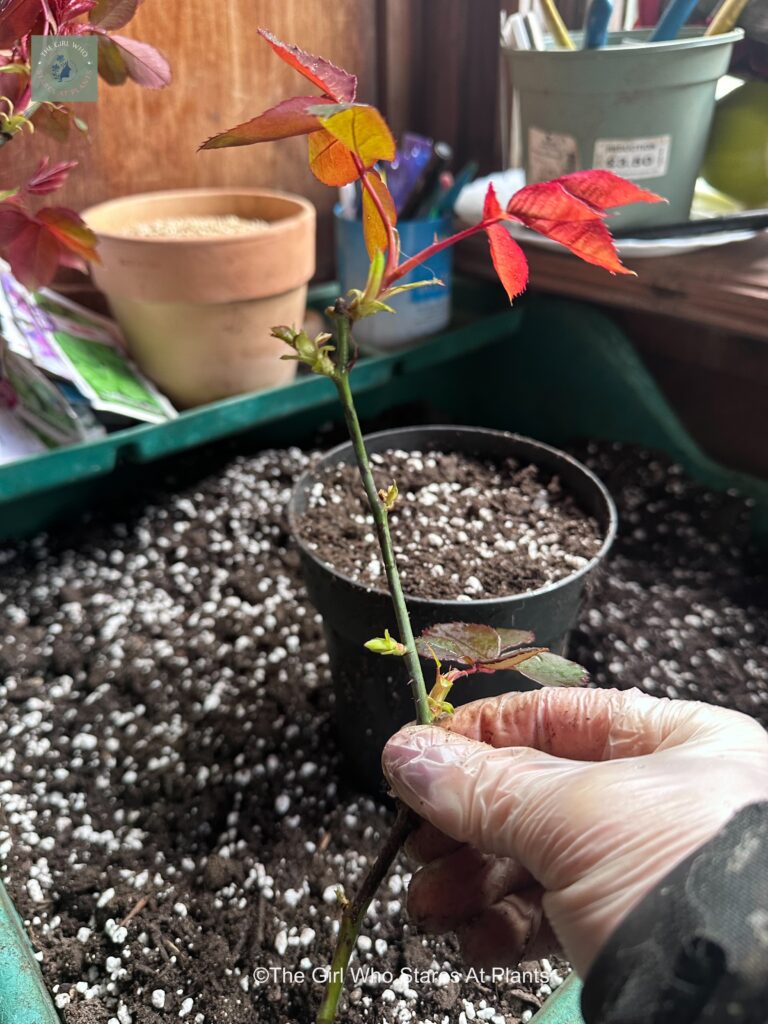
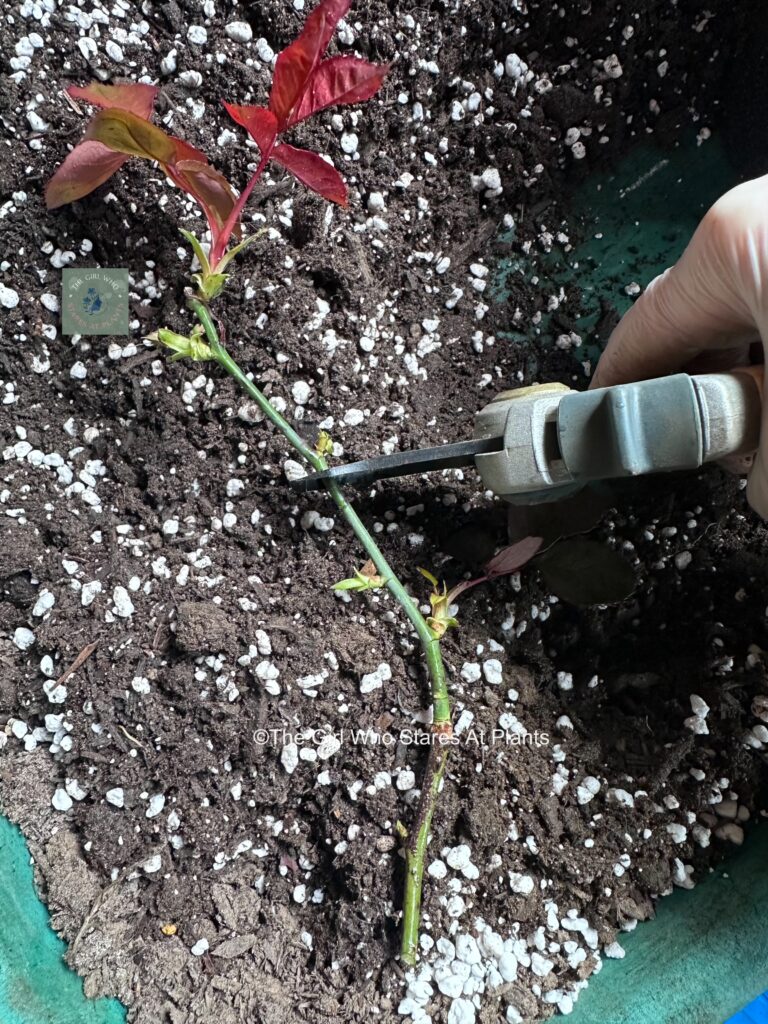
A nodal cut is made just underneath the bump (aka node) where the stems/buds are growing. This is because at this point in the stem, there is a larger proportion of the growth cells so when you plant it in the soil, you should have a greater chance of the cells forming roots. However some plants do well when the cut is made between these bumps, aka internodal! Simples.
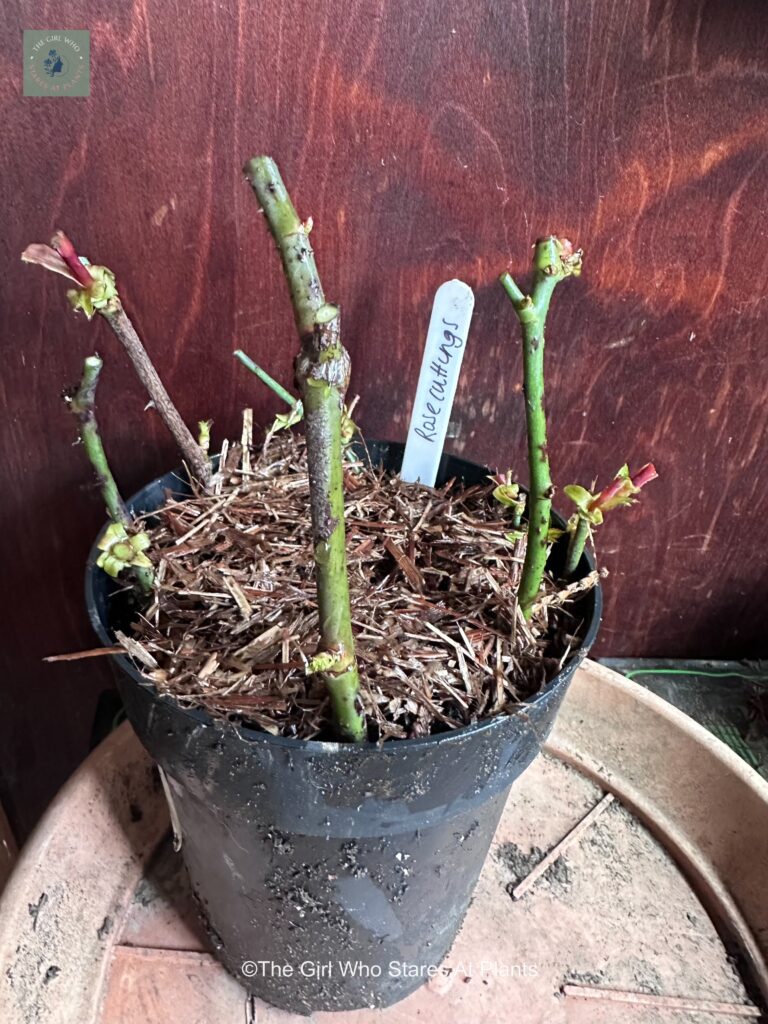
Tips for taking cuttings:
- Do your research and find out which type of cutting is best for the plant you want to propagate.
- Choose a stem which is damage free, looks healthy and is growing nicely.
- Cut as far down the stem as you can, because then you will get a number of cuttings from that one stem. You only need, 1 or 2 nodes per cutting. So if you have a stem which has 8 leaf nodes you could have 6-8 little cuttings.
- Consider buying some root hormone. This is a power which you apply to the end of your cutting and it can aid rooting.
- When you plant your cuttings, slide them into the pot as close to the side as you can. So you have a nice ring of cuttings around the ends of the pot.
- Trim any leaves on your cuttings so they don’t waste their energy trying to keep the foliage alive.
- Don’t take a cutting from a stem that is already flowering.
- I aim to take 3-5 cuttings of each plant that I want to propagate so I give myself as strong a chance as possible for at least 1, if not all 5 to root.
Conclusion
So there you have it! The difference between offspring and clones and through the use of easy propagation methods, how to make many more plants for free. Hopefully you will now know enough to give it a try yourselves. You won’t be disappointed!
JT x

