Welcome to part two of my easy garden design secrets series, created to give you the keys to garden design, in simple, easy to understand steps. This post is all about awesome site assessment!
In the last post, ‘It’s All About You!’, we covered the 3 starting points that you need to give serious thought to before you start your garden planning.
Right, so you now know what you want to use your garden for, how you want it to make you feel, and how much time you have to maintain it. So in this post we are going to progress onto the space itself and why site assessment is so important. Then, we move on to the ‘how’, which looks at assessment, aspect and creative influence. As a result you will be one step closer to the garden of your dreams.
“To plant a garden is to dream of tomorrow”
Audrey Hepburn
🥇 Assess. Assess. Assess. Great site assessment = great garden design.
The first point I want to talk about is how you assess your space. And assess you must, because a good garden design relies on you knowing what you’re working with. Moreover, there really is no right or wrong way of doing this, or any particular order to it. But it is important that you do take the time to do it.
So, get yourself something to write on, whether that is good old fashioned pen and paper or something electronic, and let’s get going! Excited yet?
Measure
Firstly, awesome site assessment starts with knowing what size space you are working with. Thus, you need to measure the area you are looking to transform. Now, this can be your whole garden, or it can be just the piece of space you are doing something with. For example, I have a reasonably large garden, and I specifically want different areas. These are also known as garden rooms. So my preference is to tackle each ‘room’ one at a time so I don’t get overwhelmed.
Because you are going to plan what is going in the garden and where, measurements of width and length are really necessary. Then you will be able to work out how much of a particular material or how many plants are needed for your design.
📝 Once you have measured your garden, draw it as close to scale as you can. If you can, duplicate it a few times so you have some copies to play with.
Stop and stare
Secondly, I want you to stare at your garden. Now I happen to be an expert at this 😆! So just go sit in it and really look at what you have got.
Start with the layout
Ask yourself questions. For example, what shape is your space? And does it have a slope? Where would you like to sit in your garden? And do you need to be able to see your garden when you are in your house? You get the picture.
Look at existing structures and planting
Next, look at existing structures and planting. Firstly, is there anything you need or want to keep, such as a shed. Whilst you may not like your shed, you can move it, or disguise it within your design. Then look at your existing plants. Have you got any plants you really like? In which case are they in the right place and are thriving? Because if they are not, you should move them so they give you the displays you want.
Open your senses to the sounds and smells
Finally let’s go all Zen! You will be amazed at what you can discover. This what makes your site assessment awesome. For example, what can you hear in your garden? Do you need to try and block out the sound? Because this will need to be factored into your plan. Equally, are you overlooked and would like a bit more privacy? If so, you will need to think about how you are going to shield your neighbours view.
So. Many. Questions. But they are all really useful and proper planning prevents poor performance!
📝 Start to draw on your plan any permanent structures such as sheds, patios or trees. Note where you might want to have height to prevent being overlooked, or plants that you want to keep.
🥈Aspect – site assessment’s most important garden design secret!
So the next point that you really need to get your head around is which direction your garden faces. This is probably the crux of site assessment. Now, when I first started gardening I wasn’t really bothered about this little point. Yep, I hear some of the more experienced gardeners sniggering, and I don’t blame you! However, it is vital knowledge for a number of reasons, and this is why is it one of the most important design secrets.
Firstly, It doesn’t matter how amazing your garden design is, if you don’t put your plants in the right places they probably won’t do very well. And if they die (yes I have murdered my plants many, many times), you will be wasting time, effort and money.
Secondly, it is also important to know the aspect to make the most of what you want to do in your garden. For example, if your seating area is in full sun, you may get too hot. Equally, if its always in the shade, you probably won’t want to sit there very long, if at all!
What is aspect?
So, when gardeners talk about aspect, they are talking about which direction the garden faces. This is relevant as it dictates where the garden gets sunlight at certain times of the day. The easiest way of working out the aspect, is by using the compass app on your phone and standing in your garden with your back to your house. Equally, whether you are working out your front or back garden aspect, it is the same methodology. So, if your compass points north, then you have a north facing garden. And if it points south, you have a south facing garden and so on, and so on.
However, the thing to remember with any aspect, is that structures such as your house, shed, or even fencing can affect where the sun hits your garden. For example, you may have a south facing garden which predominately gets the sun most of the day. But at the east and west sides of the garden, if you have tall fences, they will cast shade at either ends of the day.
📝 Make sure you record where the garden is in sun and shade throughout the day. This will be worth its weight in gold when it comes to the fun bits of garden patterns and planting.
🥉Creative influence – another one of my design secrets is to find your design muse!
The final point I want I want to discuss with you here, is inspiration. Now I love this part of the design process. I could sit all day every day just researching gardens. Moreover, unless you are exceptionally talented or creative (I’m not) then the best way of nailing down what you want your garden to look like is to get inspiration from others.
How do I find inspo?
I do this by research. Firstly, I love books and I would live in a library if I could. Consequently, I have a number of books that are just photographs of various gardens around the world. Hence, I quite often just sit with one of them on my lap whilst I am watching TV and leaf through the pages, because I find that when you really look at the images, you see different things every time!
My second favourite source of inspiration is social media. I love Instagram. But one of my favourite design secrets is Pinterest. This is because there are so many different ideas about gardens you can get lost in them. So, if you want to have a look at my Instagram account click here and for Pinterest click here. Providing that you follow my pointers, by the time you get to your research phase, you will already have an idea of what you want.
How to use inspiration in your site assessment
An example of using inspiration, is when I wanted part of my garden to be Japanese themed. And I especially wanted a walkway. So I researched Japanese walkways for far to many hours🫣. Whilst I was doing that, I came across other posts from which I took inspiration and ended up with a mixture of ideas. However this amalgamation of ideas formed a coherent garden design! Nearly all of my gardening exploits have come from ideas I have found this way.
📝You can now create a design board. Either on Pinterest (my favourite) or you can go old skool and use pen, paper and pritt-stick! To give you a flying start, click here for examples of mood/design boards on Pinterest.
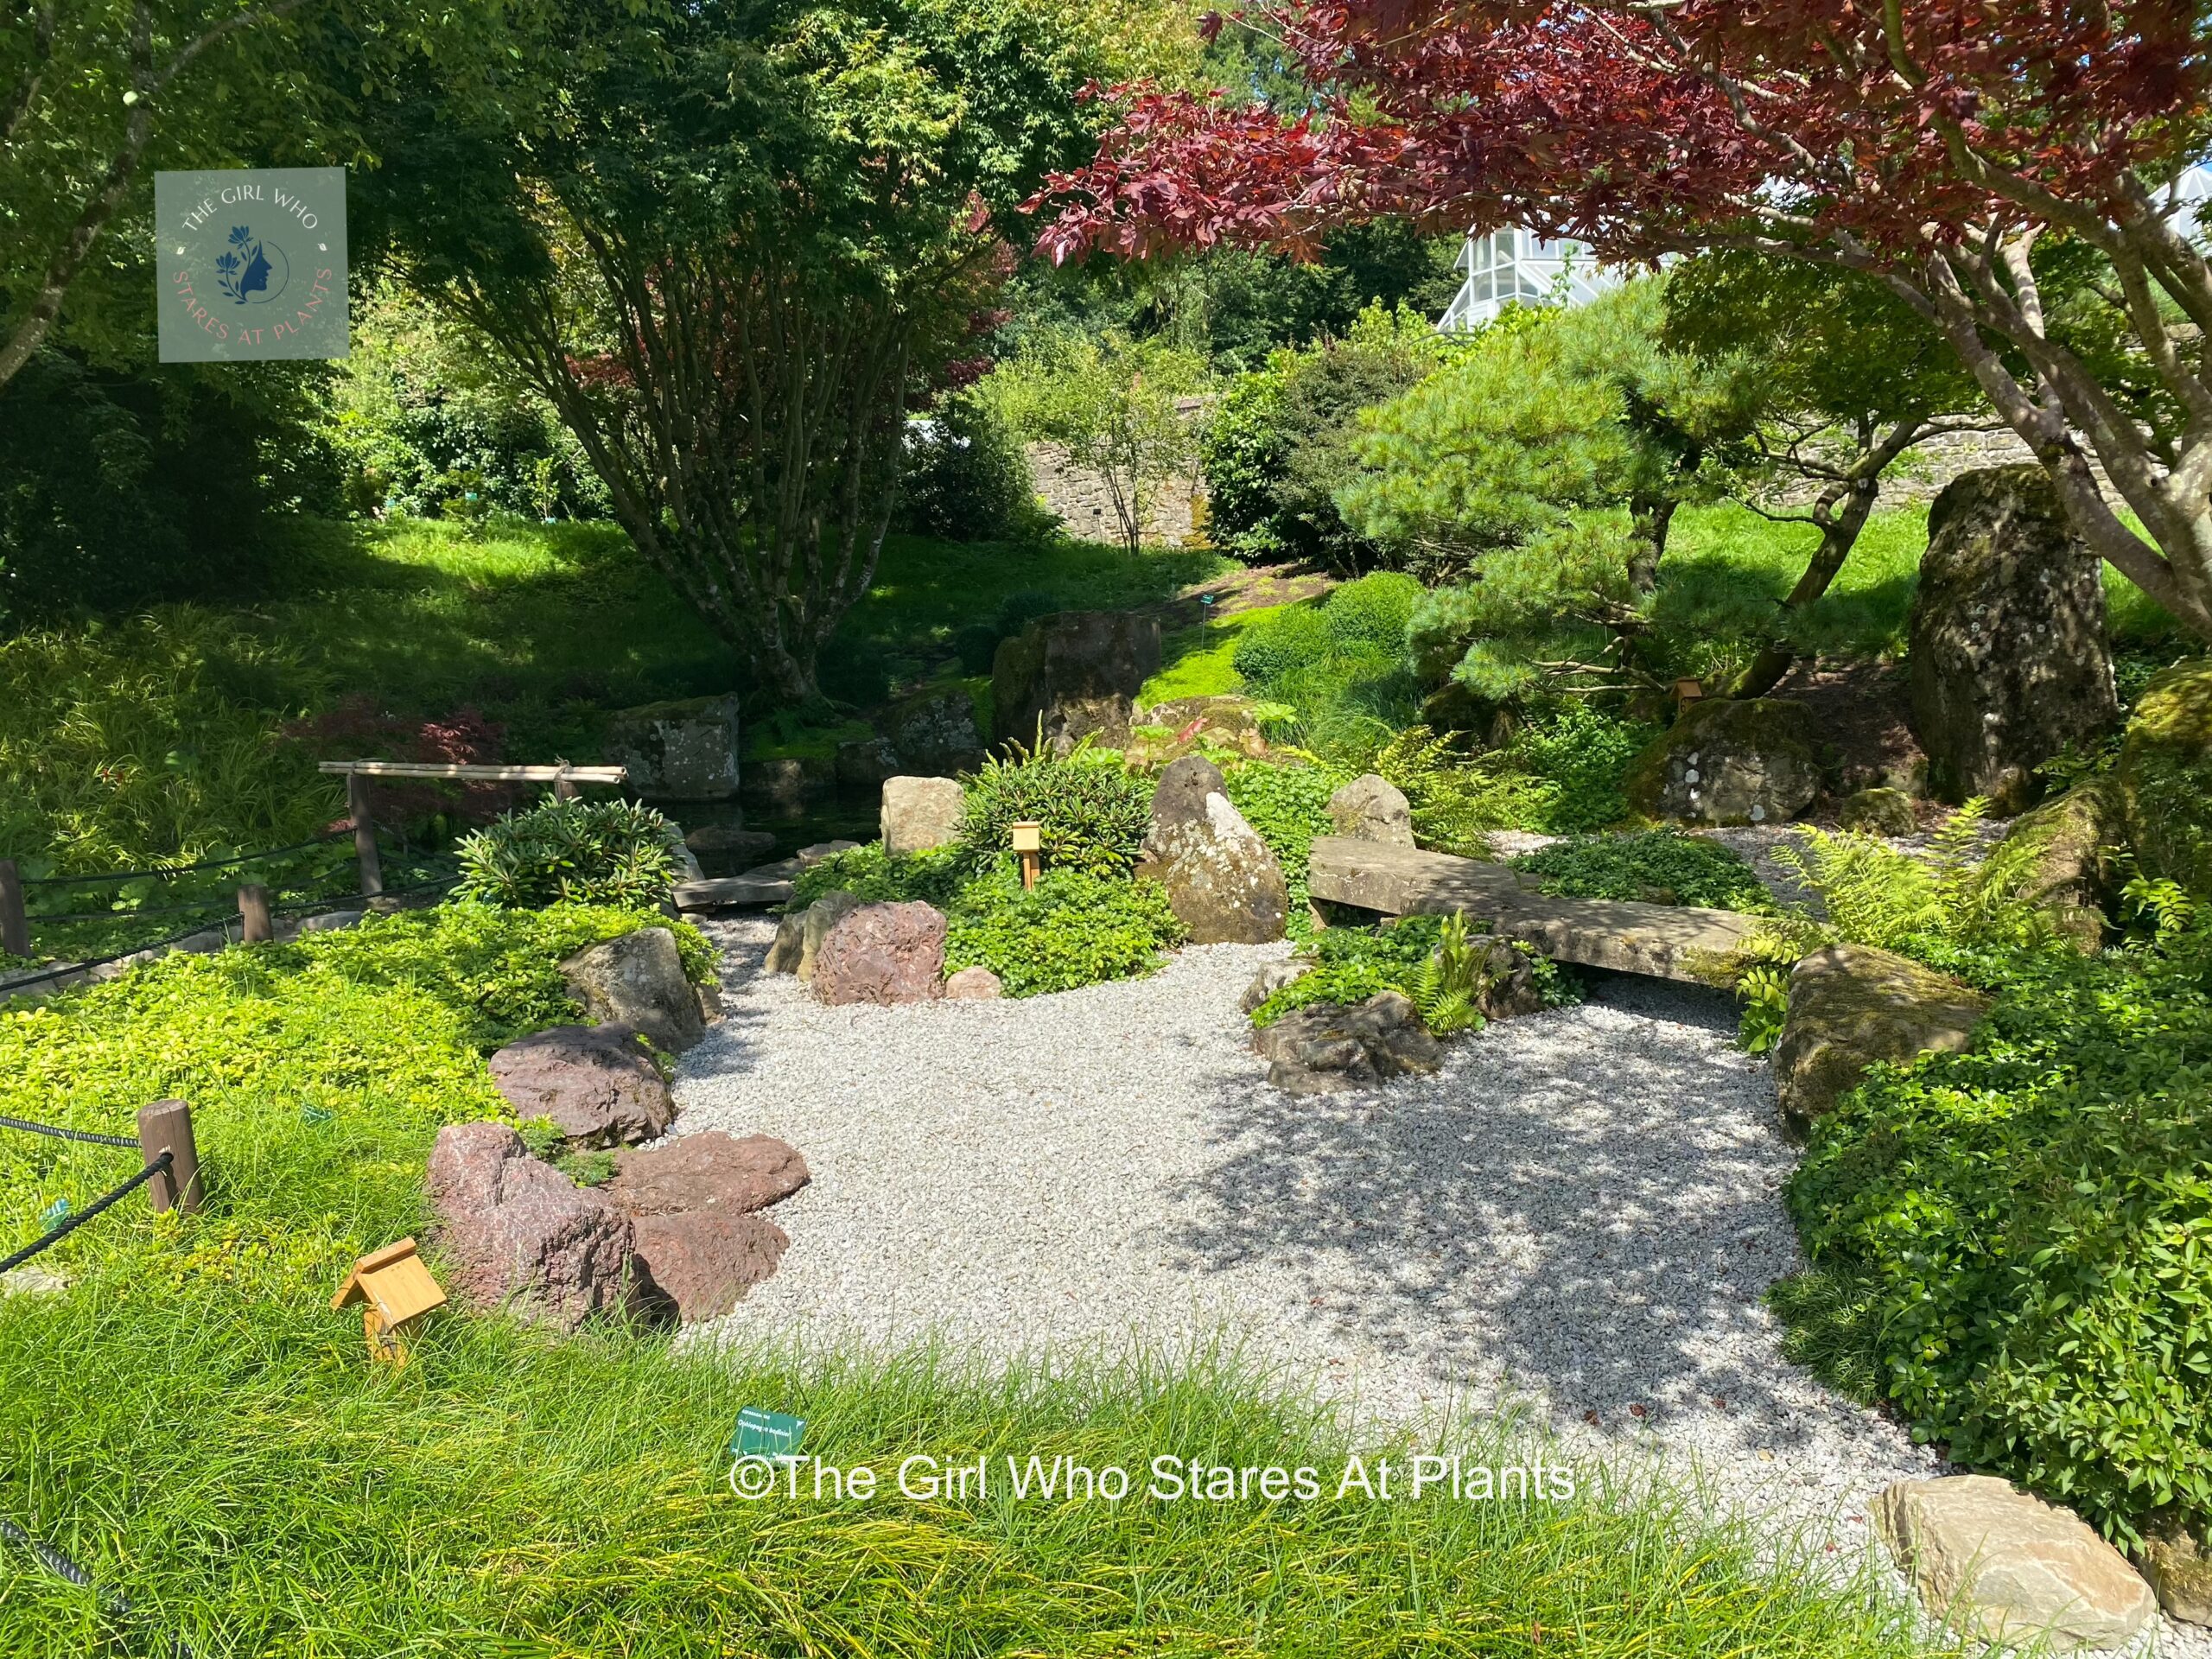
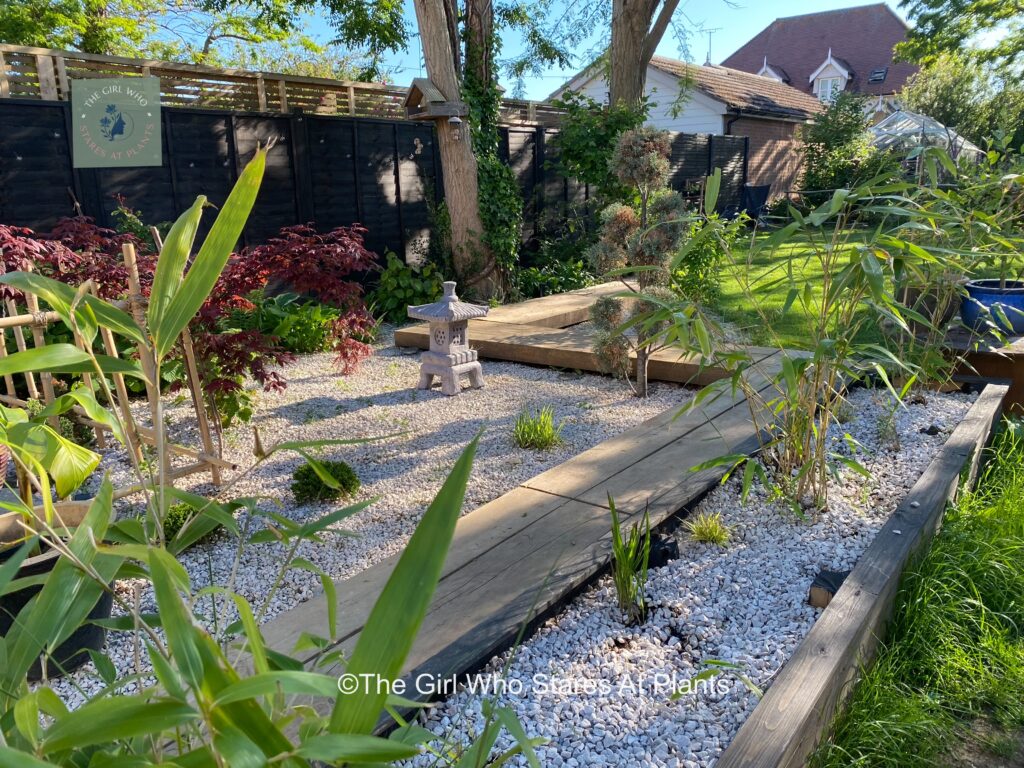
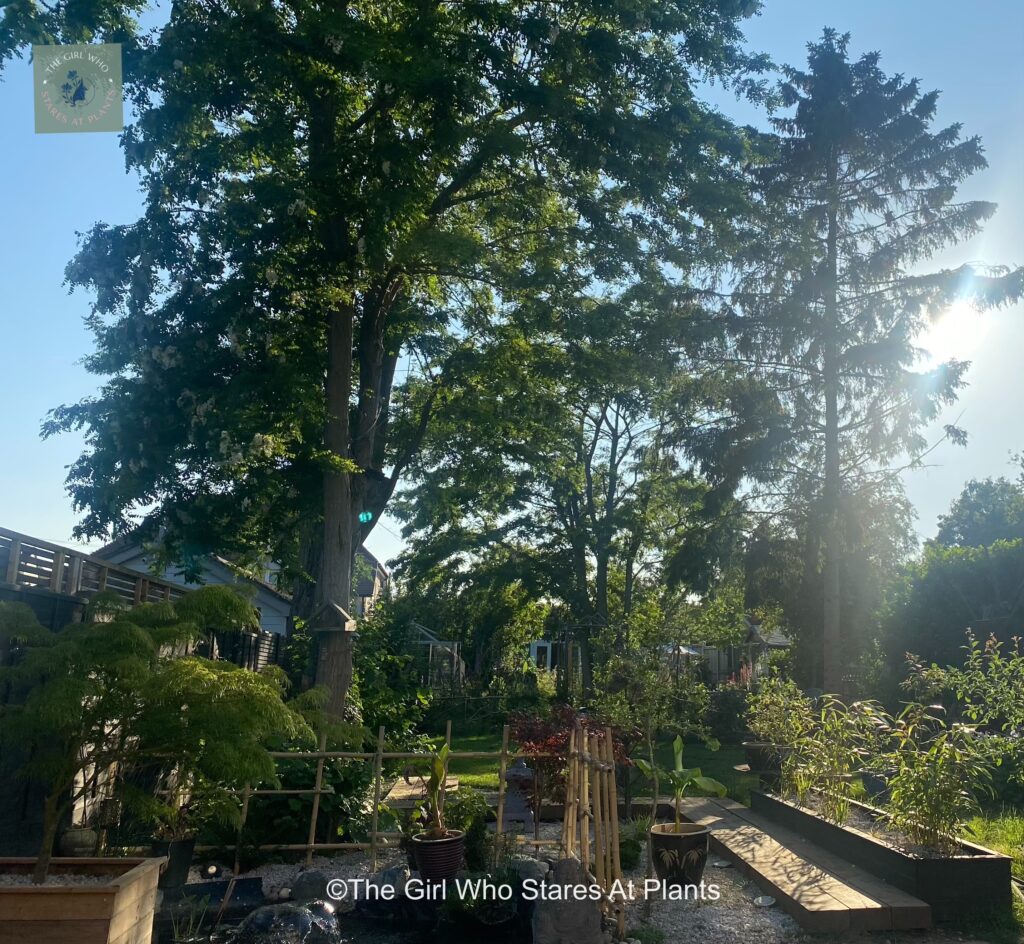
The first picture above is one I took when in Japan and it gave me inspiration for my own Japanese garden. The second picture is my garden, and was taken just after I had landscaped it. Finally, the third picture is what it looks like now.
Concluding awesome site assessment
So by now, you will know exactly what you want from your garden, as you will have assessed what you already have, and generated some pretty good ideas of how you are going to achieve it. Therefore, you are now ready to move on to the next part of the process – the garden layout.
My next post, surprisingly titled, ’its all about the Logical Layout’, will talk you through three ways of achieving exactly what you want from your garden. Firstly, we focus on the routes around the garden. Secondly, we look at the permanent parts of the garden, such as a patio or decking area, known as hard landscaping. And finally, we look at where we will be putting the plants.
See you again soon!
J.T. X

