Hi everyone and welcome to my first “how to” post. This one is all about how to create an outdoor firepit! Picture summer evenings sat in the garden, surrounded by friends and family. Add a drink and a nice fire going to keep you warm when the sun goes down – Bliss!
Introduction
I would love to spend thousands of pounds on landscaping my garden, but not many of us have this luxury. Also, in my view, it isn’t really necessary because there are some a many ways to upcycle and recycle. Which of course is much better for the environment. In fact, I think I missed my vocation in life as I love working with wood!
Anyway, this is my latest project using materials that I had to hand in my garden. And it only took me a day!
My fire pit was not planned, which is unlike me as I am a bit of a planner. This just goes to show how easy it is to go with the flow,. Plus highlights how your garden develops organically over time. Actually, the more I think about it, this is the main way I garden these days. However, if you would like to know how to design your own garden, then I have just the post for you! CLICK HERE to read the article only post for you will ever need to do it yourself!
Outdoor Firepit heaven
I hope you have at least heard of firepits, but if you haven’t let me explain what an outdoor firepit actually is. Traditionally, they were used to cook food. Starting as a literal pit dug into the ground, with some stones and topped with a fire. These days, they look far more sophisticated and can range from super simple and cheap, to large fancy and expensive!
If you want more inspiration on outdoor firepits and all things garden and garden, visit my Pinterest page CLICK HERE
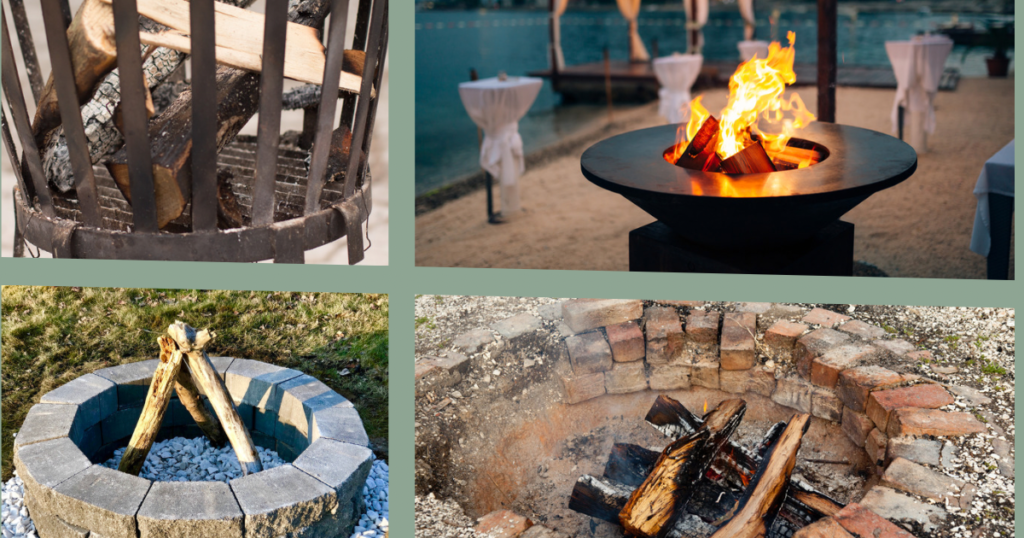
My take on an outdoor firepit
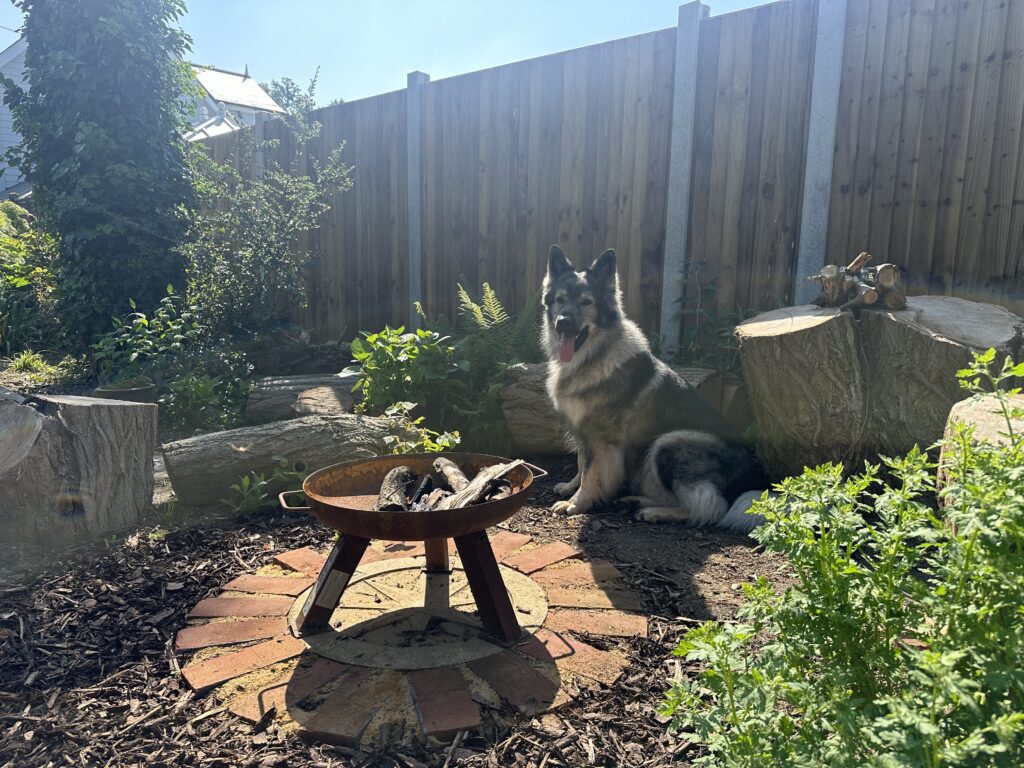
Last year, I bought a cheap metal firepit that is literally a metal bowl on legs. I’ve never really used it because I had no dedicated area other than my patio. Furthermore, my patio isn’t pretty (it’s a work in progress), as a result it didn’t really entice me out in to the garden in the evening. However, I wanted it to be different this year! I really want to use my garden in the evenings, and as my firepit has now turned a lovely rusty colour, I had been thinking about where to put it.
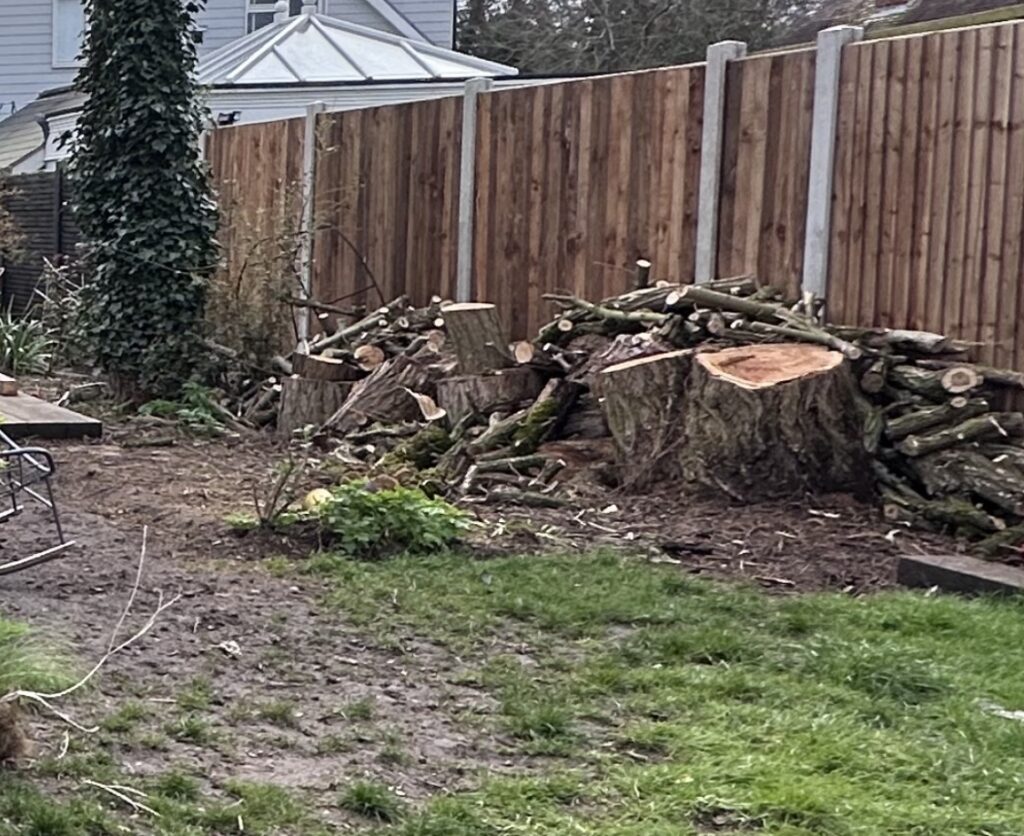
Then last month, I had to have a tree felled because it was rotting 😭, and it left a large space in the garden. I have deliberately kept the stump and had it reduced to table height as I thought I could put plant pots on it and use it as a feature.
However, inspiration struck, and whilst walking past this area on the way to the greenhouse, it occurred to me that the garden now has the perfect spot for my own outdoor firepit!
So, true to my moniker, I sat staring this space, mulling over how and where I was going to move the massive logs, as well as how I was going to do it without breaking my back! Then I had an even better idea: use the logs for seating. Boom!! A design was born.
Clear the area
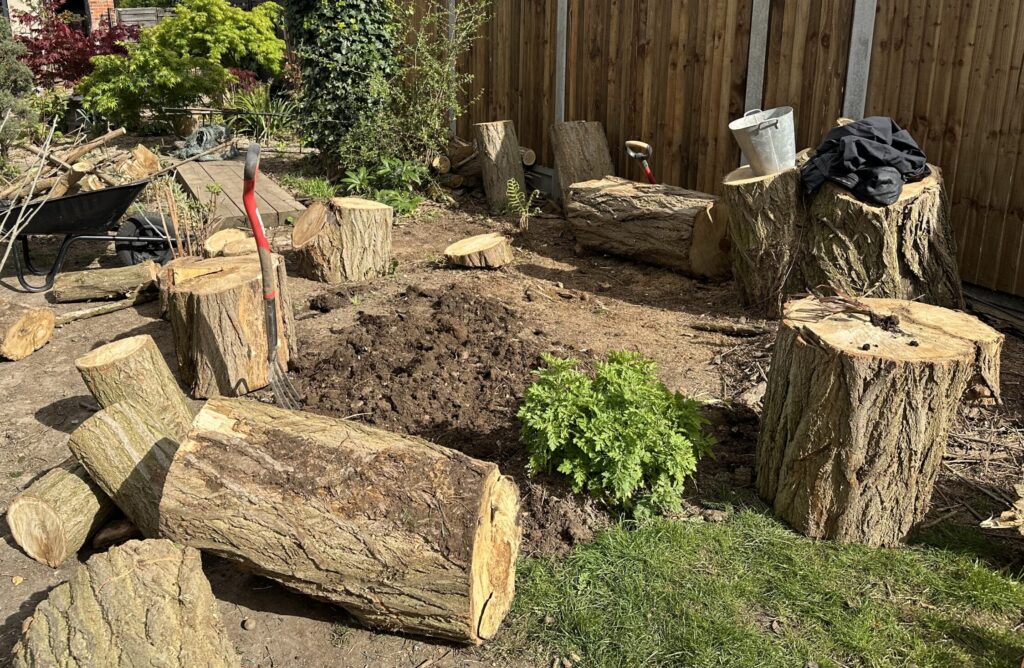
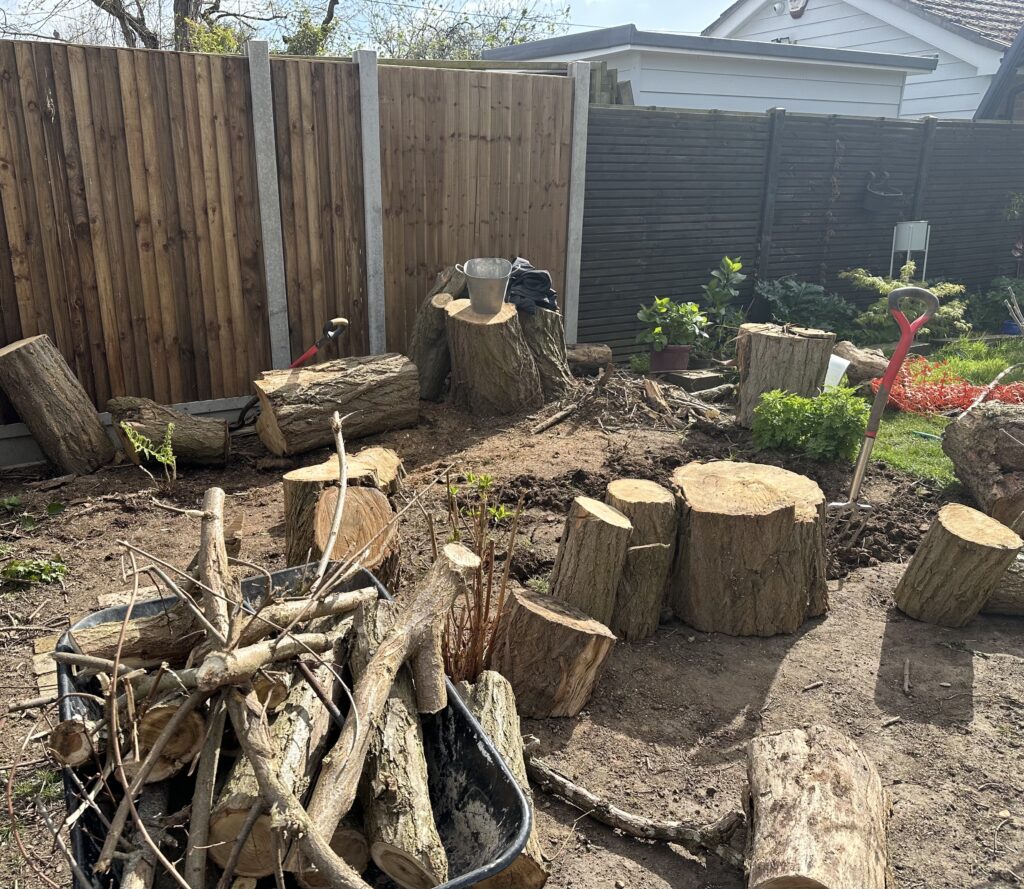
So the first thing I did was prepare the area I wanted to use. You can see the aftermath of the tree felling above. Loads of leftover wood and my poor grass turned to mud. Also don’t mention my flower bed which was unavoidably pretty much demolished 😭.
As per my usual modus operandi, I just stood and stared. I pictured where I wanted the firepit to be and what I wanted it to look like. Then I considered things like how I would get to it from the rest of the garden and how much space I wanted away from the fire, how many people I wanted seating for, and how to make it pretty.
I decided on a circle, because I like the idea of people sitting around together. I also thought it would marry up nicely with the circular nature of the logs, and the circular metal fire pit. Once I had that idea in my head I went to work.
Firstly I started to clear the space. Last year, I had used this patch of ground as a flower bed, because the dogs had ruined the grass. However, it didn’t really work because it was under the tree and the dogs still ran over it and damaged the plants (bullies 😬).
So I dug up the ones that had survived and levelled the ground. There was one feverfew daisy which I left as I didn’t have the heart to dig it up!
Creating an outdoor firepit seating area
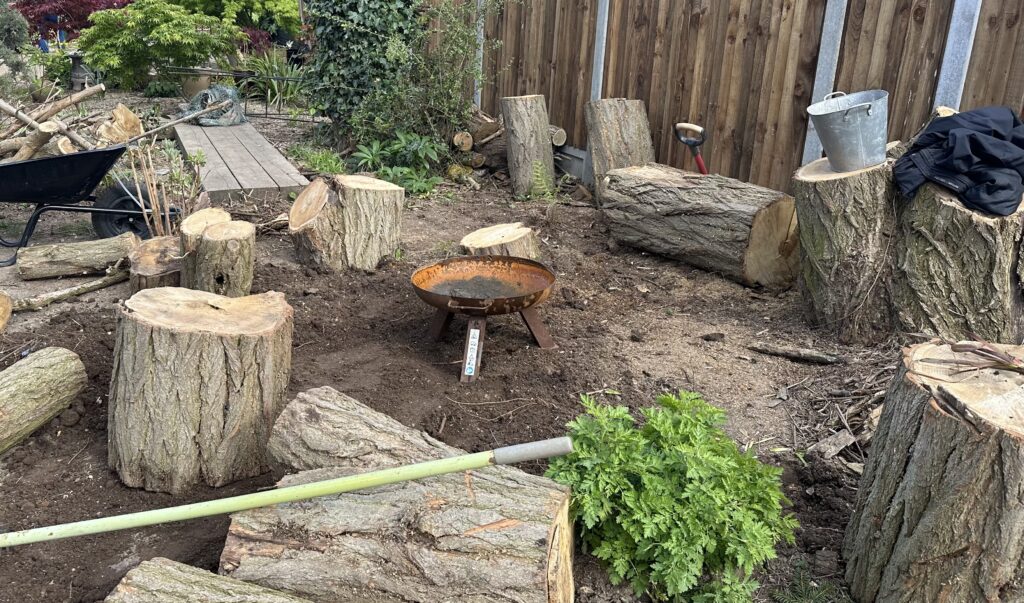
Before I started on the seating, I put the firepit in the middle of the area to gauge where I wanted the seating to be. I ensured that they were all a comfortable distance from the fire because we don’t want people getting too hot or too smoked out do we?!
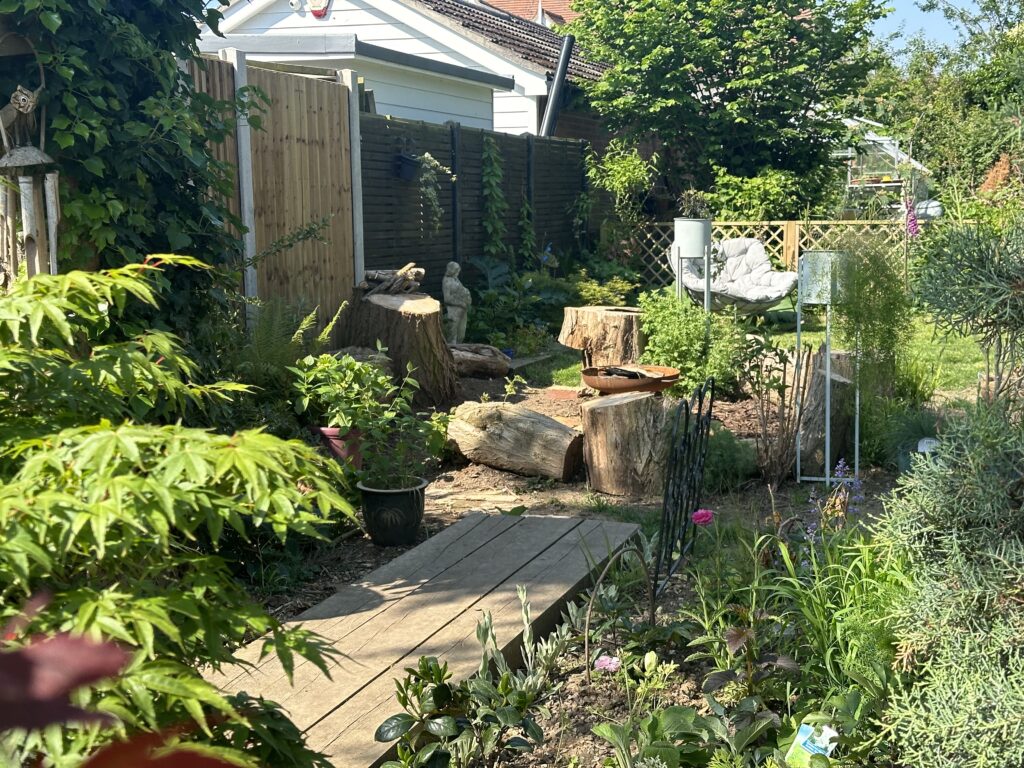
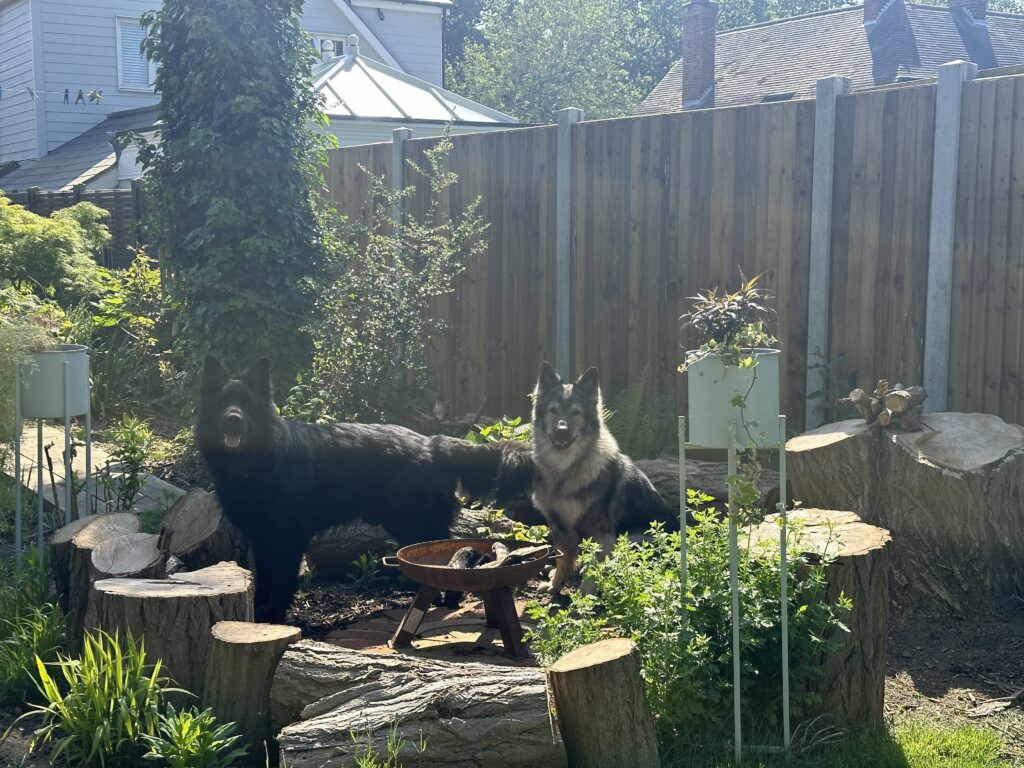
Then, I chose the logs that were best suited for seating i.e. ones that were a good size, shape and had stability. I also picked out some that would add to the look, and that I could eventually grow some plants in between. Then I heaved them about until I got a nice look, and nearly broke a finger in the process 😩. I managed a seating area for 4-6 people with plenty of space between. I even managed to add a couple of logs that can be used as side tables.
Firepit build and safety
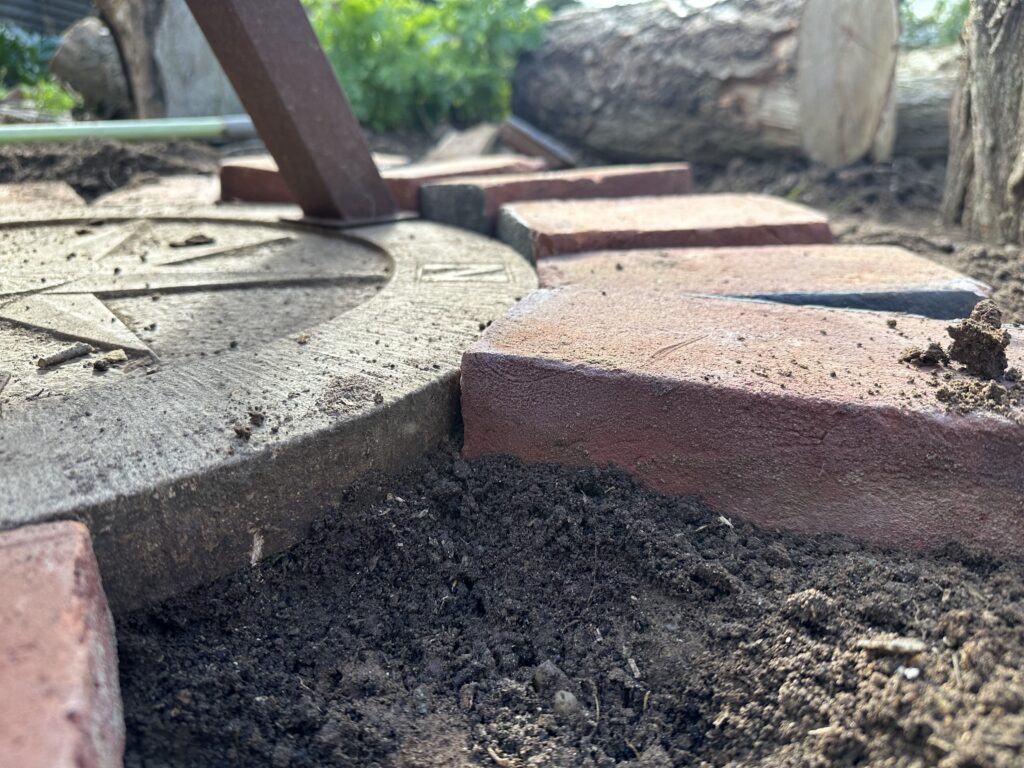
As I was using a readymade firepit, I didn’t really have much work to do here. That being said, I did need to make sure that it was sat on something suitable and flameproof. So, I used a spare large round stepping stone. Obviously, you don’t want anything flammable underneath it, else you will get a fire bigger than you bargained for!
Now, I am a natural worrier, so I also widened the area around the fire pit to account for any bits of hot wood falling out. I did this by using old bricks in a sunburst pattern and then I then filled them with sand. Lastly, I used landscape bark between the logs and on the pathway to draw it all together.
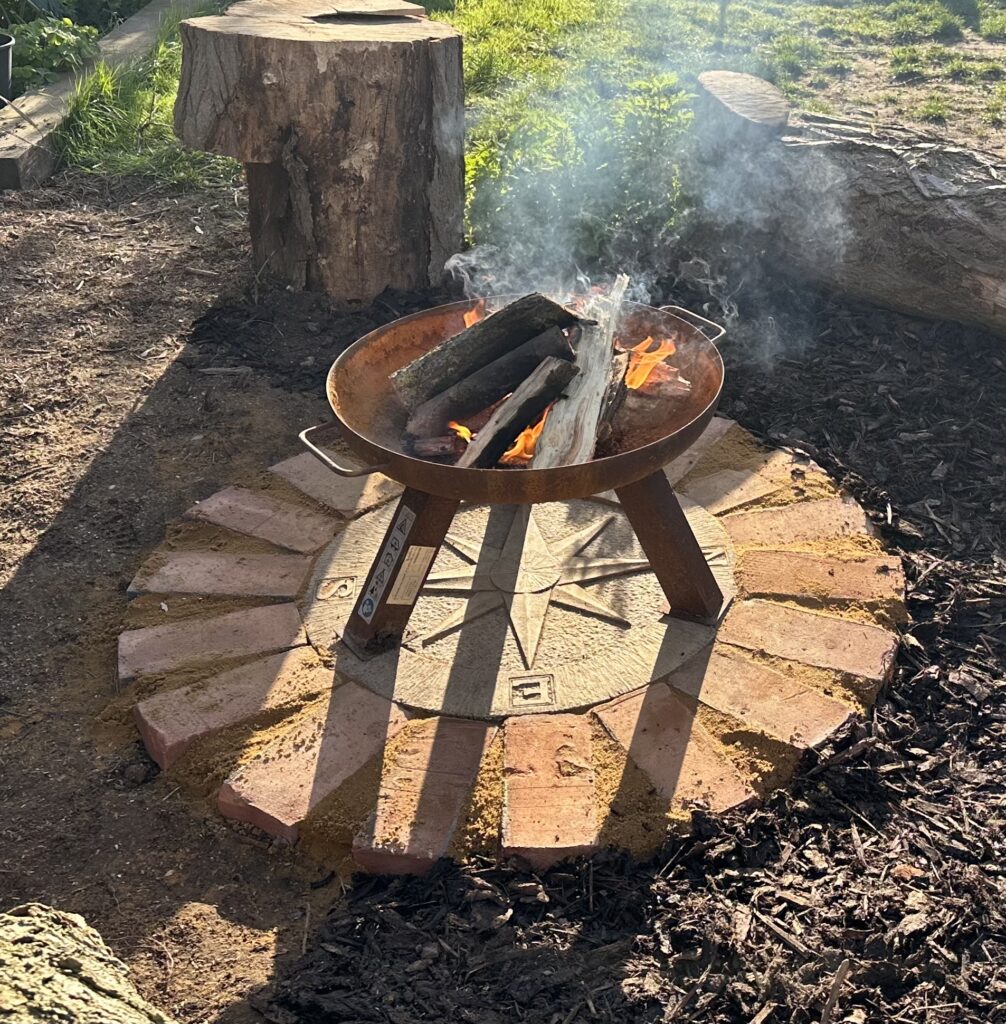
One little purchase I will be making is a dome fireguard to sit over the fire for extra safety and to stop spitting. This is not just for the comfort of whomever will be sitting there, but because my dogs are mesmerised by fire and they have long coats, so I worry they will get too close!
Planting
The final touches involved planting around the area to blend it into the garden and make it look pretty!!
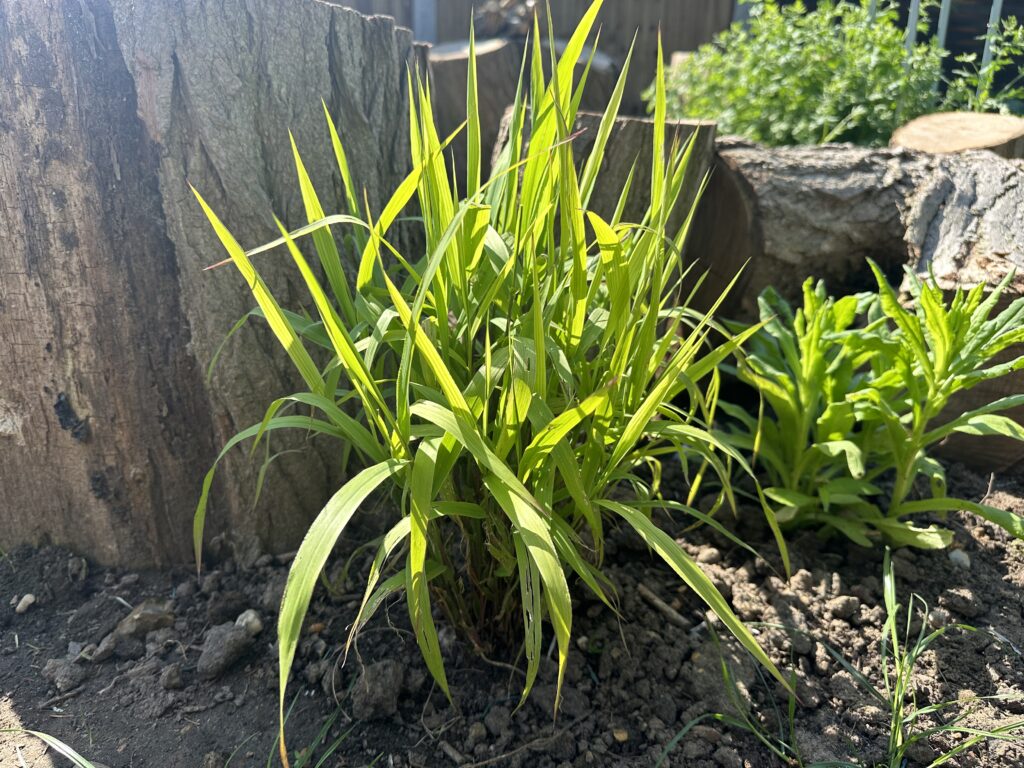

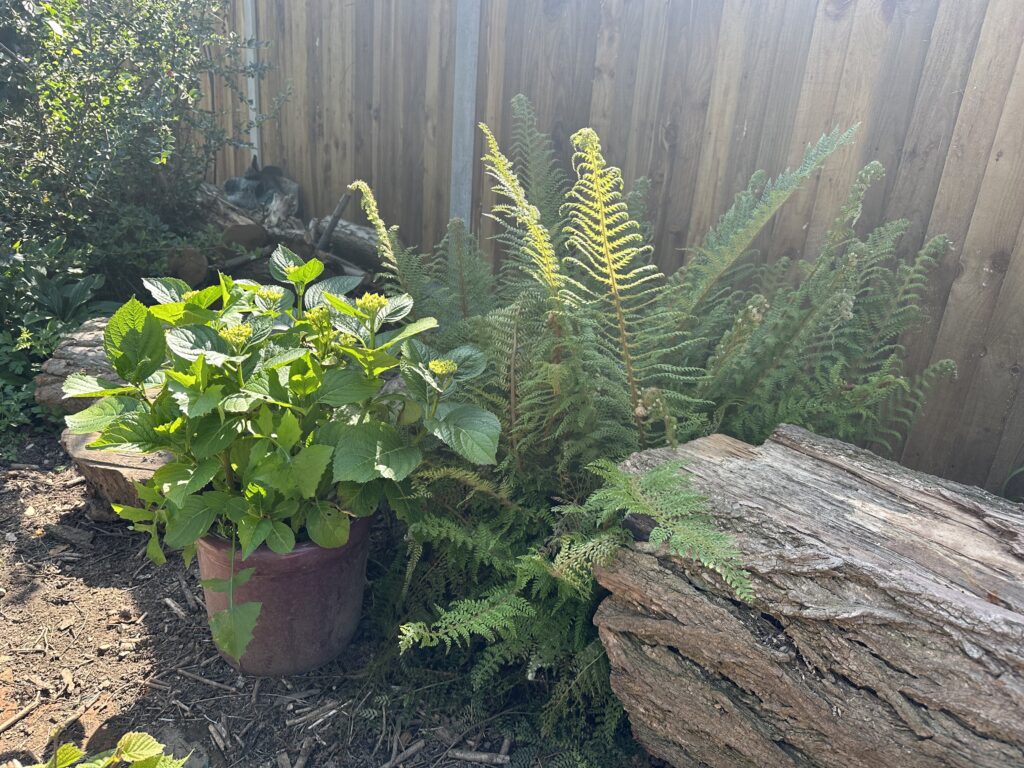
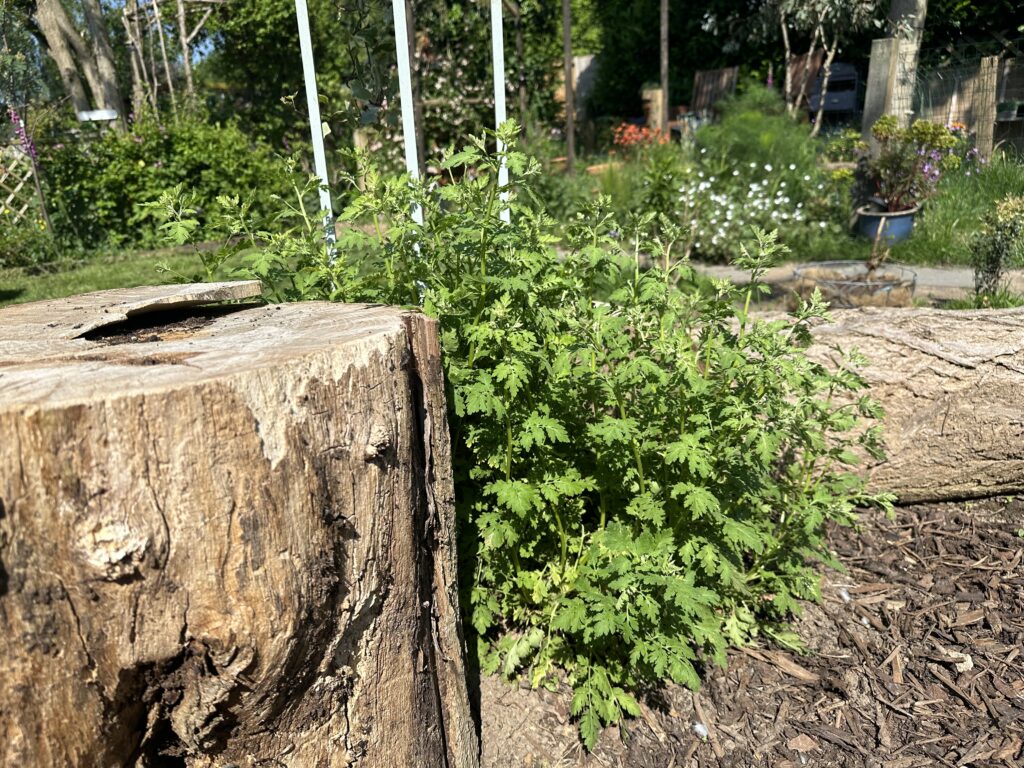
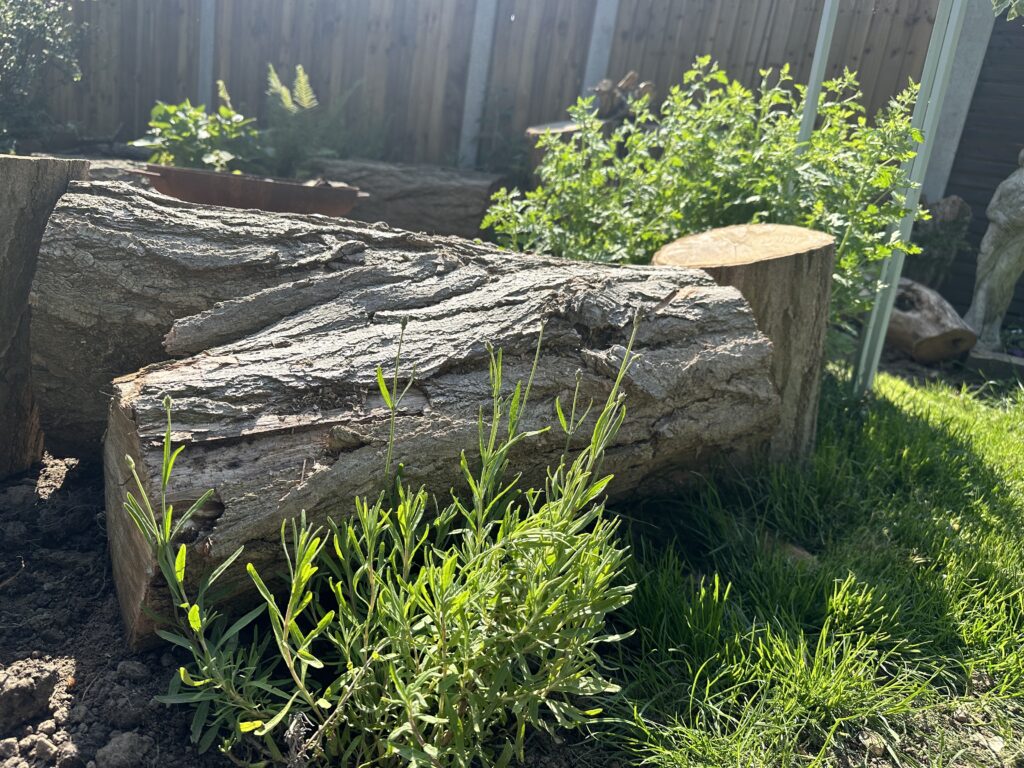
I used a shuttlecock fern between the logs, and planted miscanthus sinensis outside the fire pit which will grow quite tall and create a bit of seclusion as well as soft rustling noise. I also planted some scented plants such as lavender and a artemisia cola plant. So now, there will be a lovely scent next to the seats and people can just reach over and touch the plants.
Lastly I added a bit of height and used two planters that I bought for the house a few years ago. These are planted with tender perennial’s, we well as a draping ivy. Therefore it will be easy for me to bring them into the greenhouse over winter.
Conclusion
I have used the pit quite often since I built it, but not as much as Trooper who thinks it’s his play area and uses the logs to hide from Storm! Hope this post gives you a bit of inspiration and shows what you can achieve with a bit of imagination!
Cheers all!
