Hello, and welcome back to part 3️⃣ of my 5️⃣ part blog series on garden design secrets – its all about the logical layout. This is where you reap the benefits from all the mistakes I have made!
In part two, ‘It’s All About Awesome Site Assessment’, we covered the importance of assessing your space so that whatever garden design you end up with, it will be perfect for you.
This post is all about the importance of ensuring a logical layout. I say logical, because I have lost count of the amount of times I have had to redesign my garden due to not thinking things through well enough.
“The most lasting and pure gladness comes to me from my gardens”
Lillie Langtry
Why is a logical layout important in garden design?
Because your garden must be practical as well as beautiful of course, and a logical layout is crucial this. So, how you get from your house to the areas in the garden you use the most, and how you make the most of that space, is one of the key’s to having a great garden.
Personally, I find it useful to think about the layout as a map. Firstly, you need your main paths (motorways) to get you quickly to the areas you need to access the most. Then you need your footpaths or scenic routes (B roads), to allow you appreciate the space you are moving through. Next, you can add little seating areas (viewing points), small ponds (waterways) or maybe even an outdoor kitchen (coffee shop!).
Once you have these things, add the scenery. Do you want to travel though a small wood? Then put a few trees and woodland plants in your garden. Maybe you would you like to visit the beach? Then add a sand pit for your children and surround it by coastal plants. Perhaps you would you like to stroll through a meadow? Then plant some wildflowers in a patch of unused ground and watch how they transform it.
Whatever you would like in your garden, a practical, logical layout is the key.
So how do we achieve a logical layout? By following the 3 tips below of course!
🥇 Work out your motorway
I have read a number of design books and most of them have advised considering the outline of your garden before you plan the routes around it. I have done this on a number of occasions, but it never quite worked out that well for me. As a result, I now plan the primary route(s) first, that is the one(s) that you will use the most. And I go for practicality, which includes things like speed of getting from A to B, and width of pathway.
📝 So get your plans out and start sketching where your garden motorway is going to be!
Learn from my experiments, aka my mistakes! So, in my garden, I need to get from my back door to the bottom of the garden where my greenhouse is. When I originally planned my garden, I didn’t take this into account and built a more scenic route because I wanted to take the time to walk through my garden.
Practically, this was a daft decision because it then became quite a long way between the two points. And then I got fed up with how long it used to take me, so I ended up cutting across the flower beds 🥴. I eventually had to redesign the path. Not only did this cost me time and money, it cost me significant effort as I had to change most of the design. Honestly 🙄.
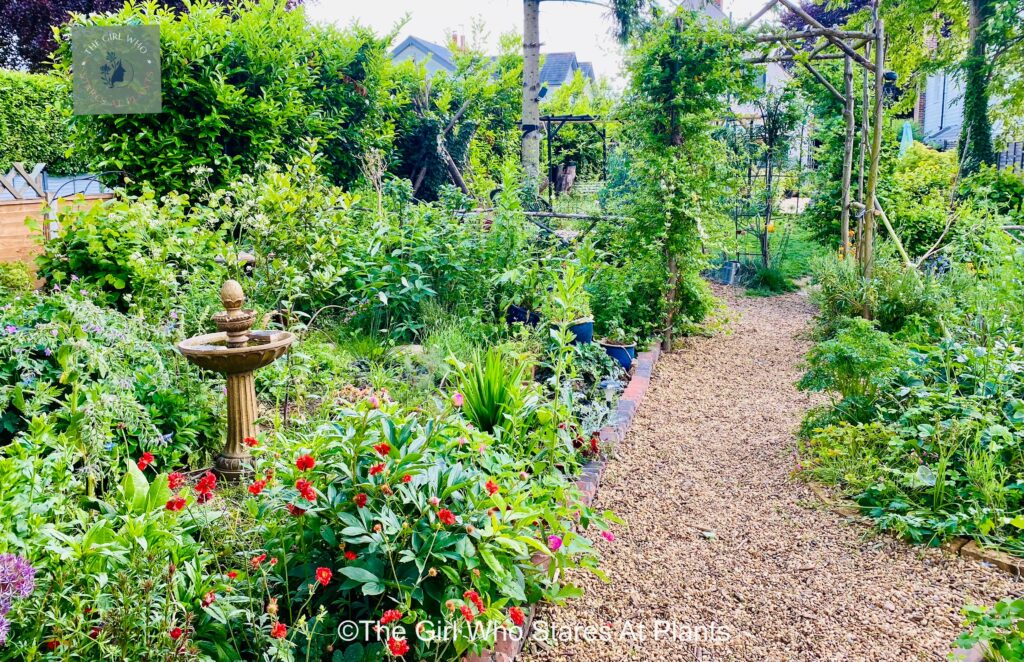
The picture on the left is my highway to my greenhouse. This is wide enough for wheelbarrows so will also accommodate things such as wheelchairs or buggy’s.
🥈 Garden pattern
Once you have your most important route, you are now ready to work out what the layout of your garden will be.
So, you already you know what you want to use your garden for because we worked that out in part 1️⃣. To recap that would probably be things like entertaining, or somewhere for the kids to play. Thus, you would need structure, such as seating, a playing area or even an outdoor kitchen.
And, you also already know where the best places for those things will be, because you worked that out in part 2️⃣. To recap that means you know the right places for your plants, whether they can survive in sun or shade. You also know where you may want some shelter, or some taller plants or structures to give you some privacy in your garden as an example.
As a result, you now know what your requirements are, so you can use them to work out your garden pattern. I find it useful to think if each element as a building block, and assign each block a shape.
Making your pattern
Personally, I find the best way to do this is to keep it simple. Your blocks can be formal such as squares or circles, or they can be informal and irregular. Equally, you can use just one shape and fit everything in it, or you can it multiple times. Thus, you can mix and match shapes so you come up with the design you really like.
There are so many ways you can do this you can really let your creative side loose!
📝 The benefit of having several copies of your basic plan is that you can draw multiple versions of your garden pattern and then choose which one you like the best. Don’t forget to include some of the inspo you found during the research phase. Click here for inspiration from my Pinterest page.
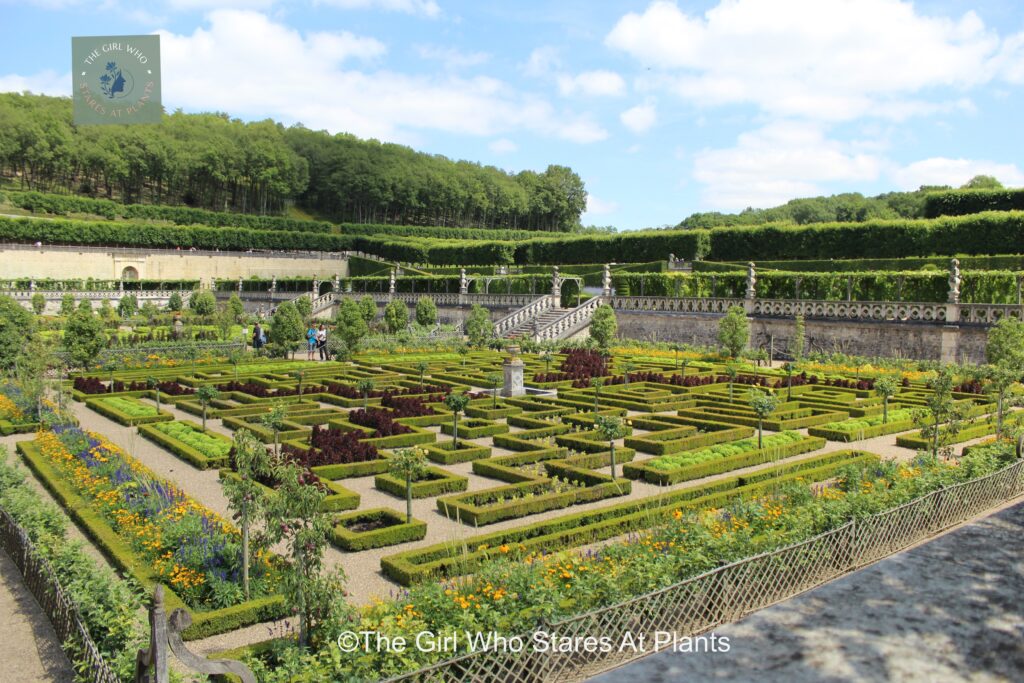
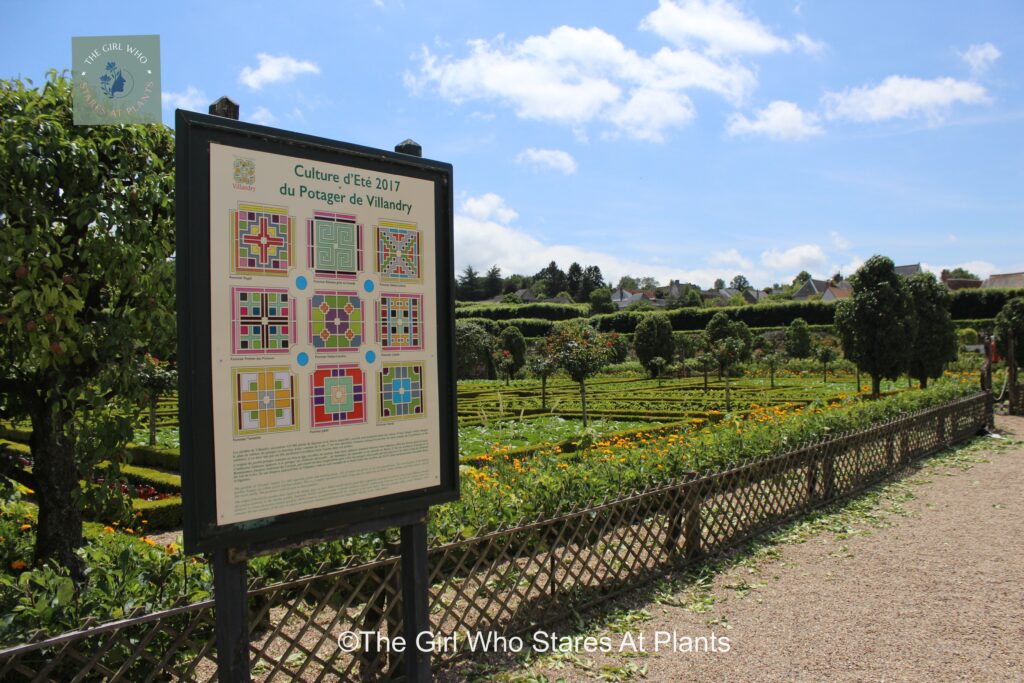
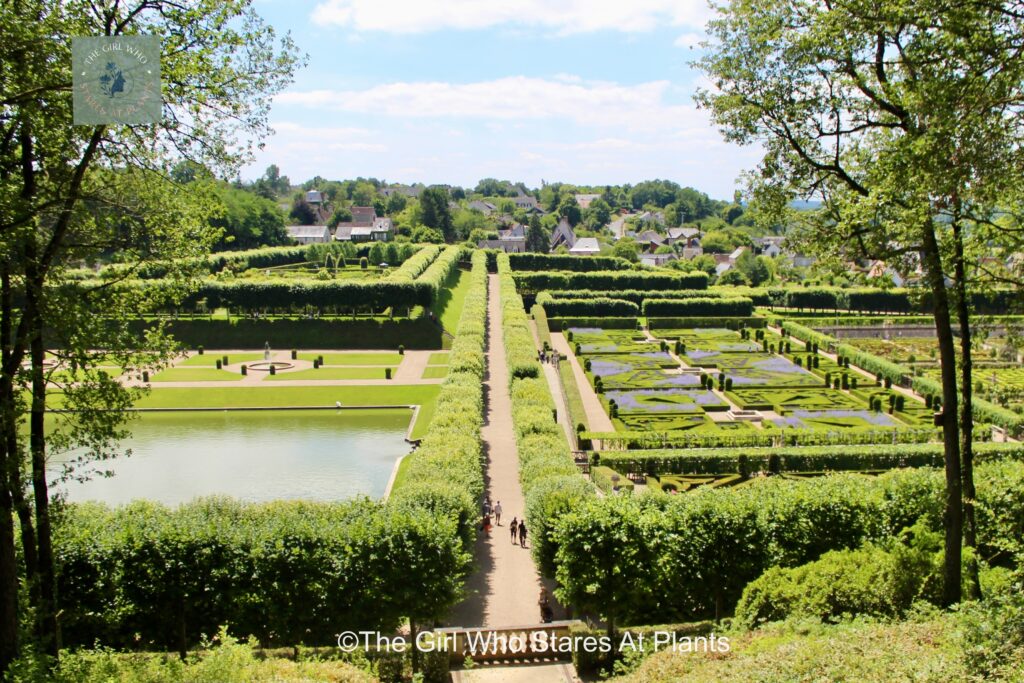
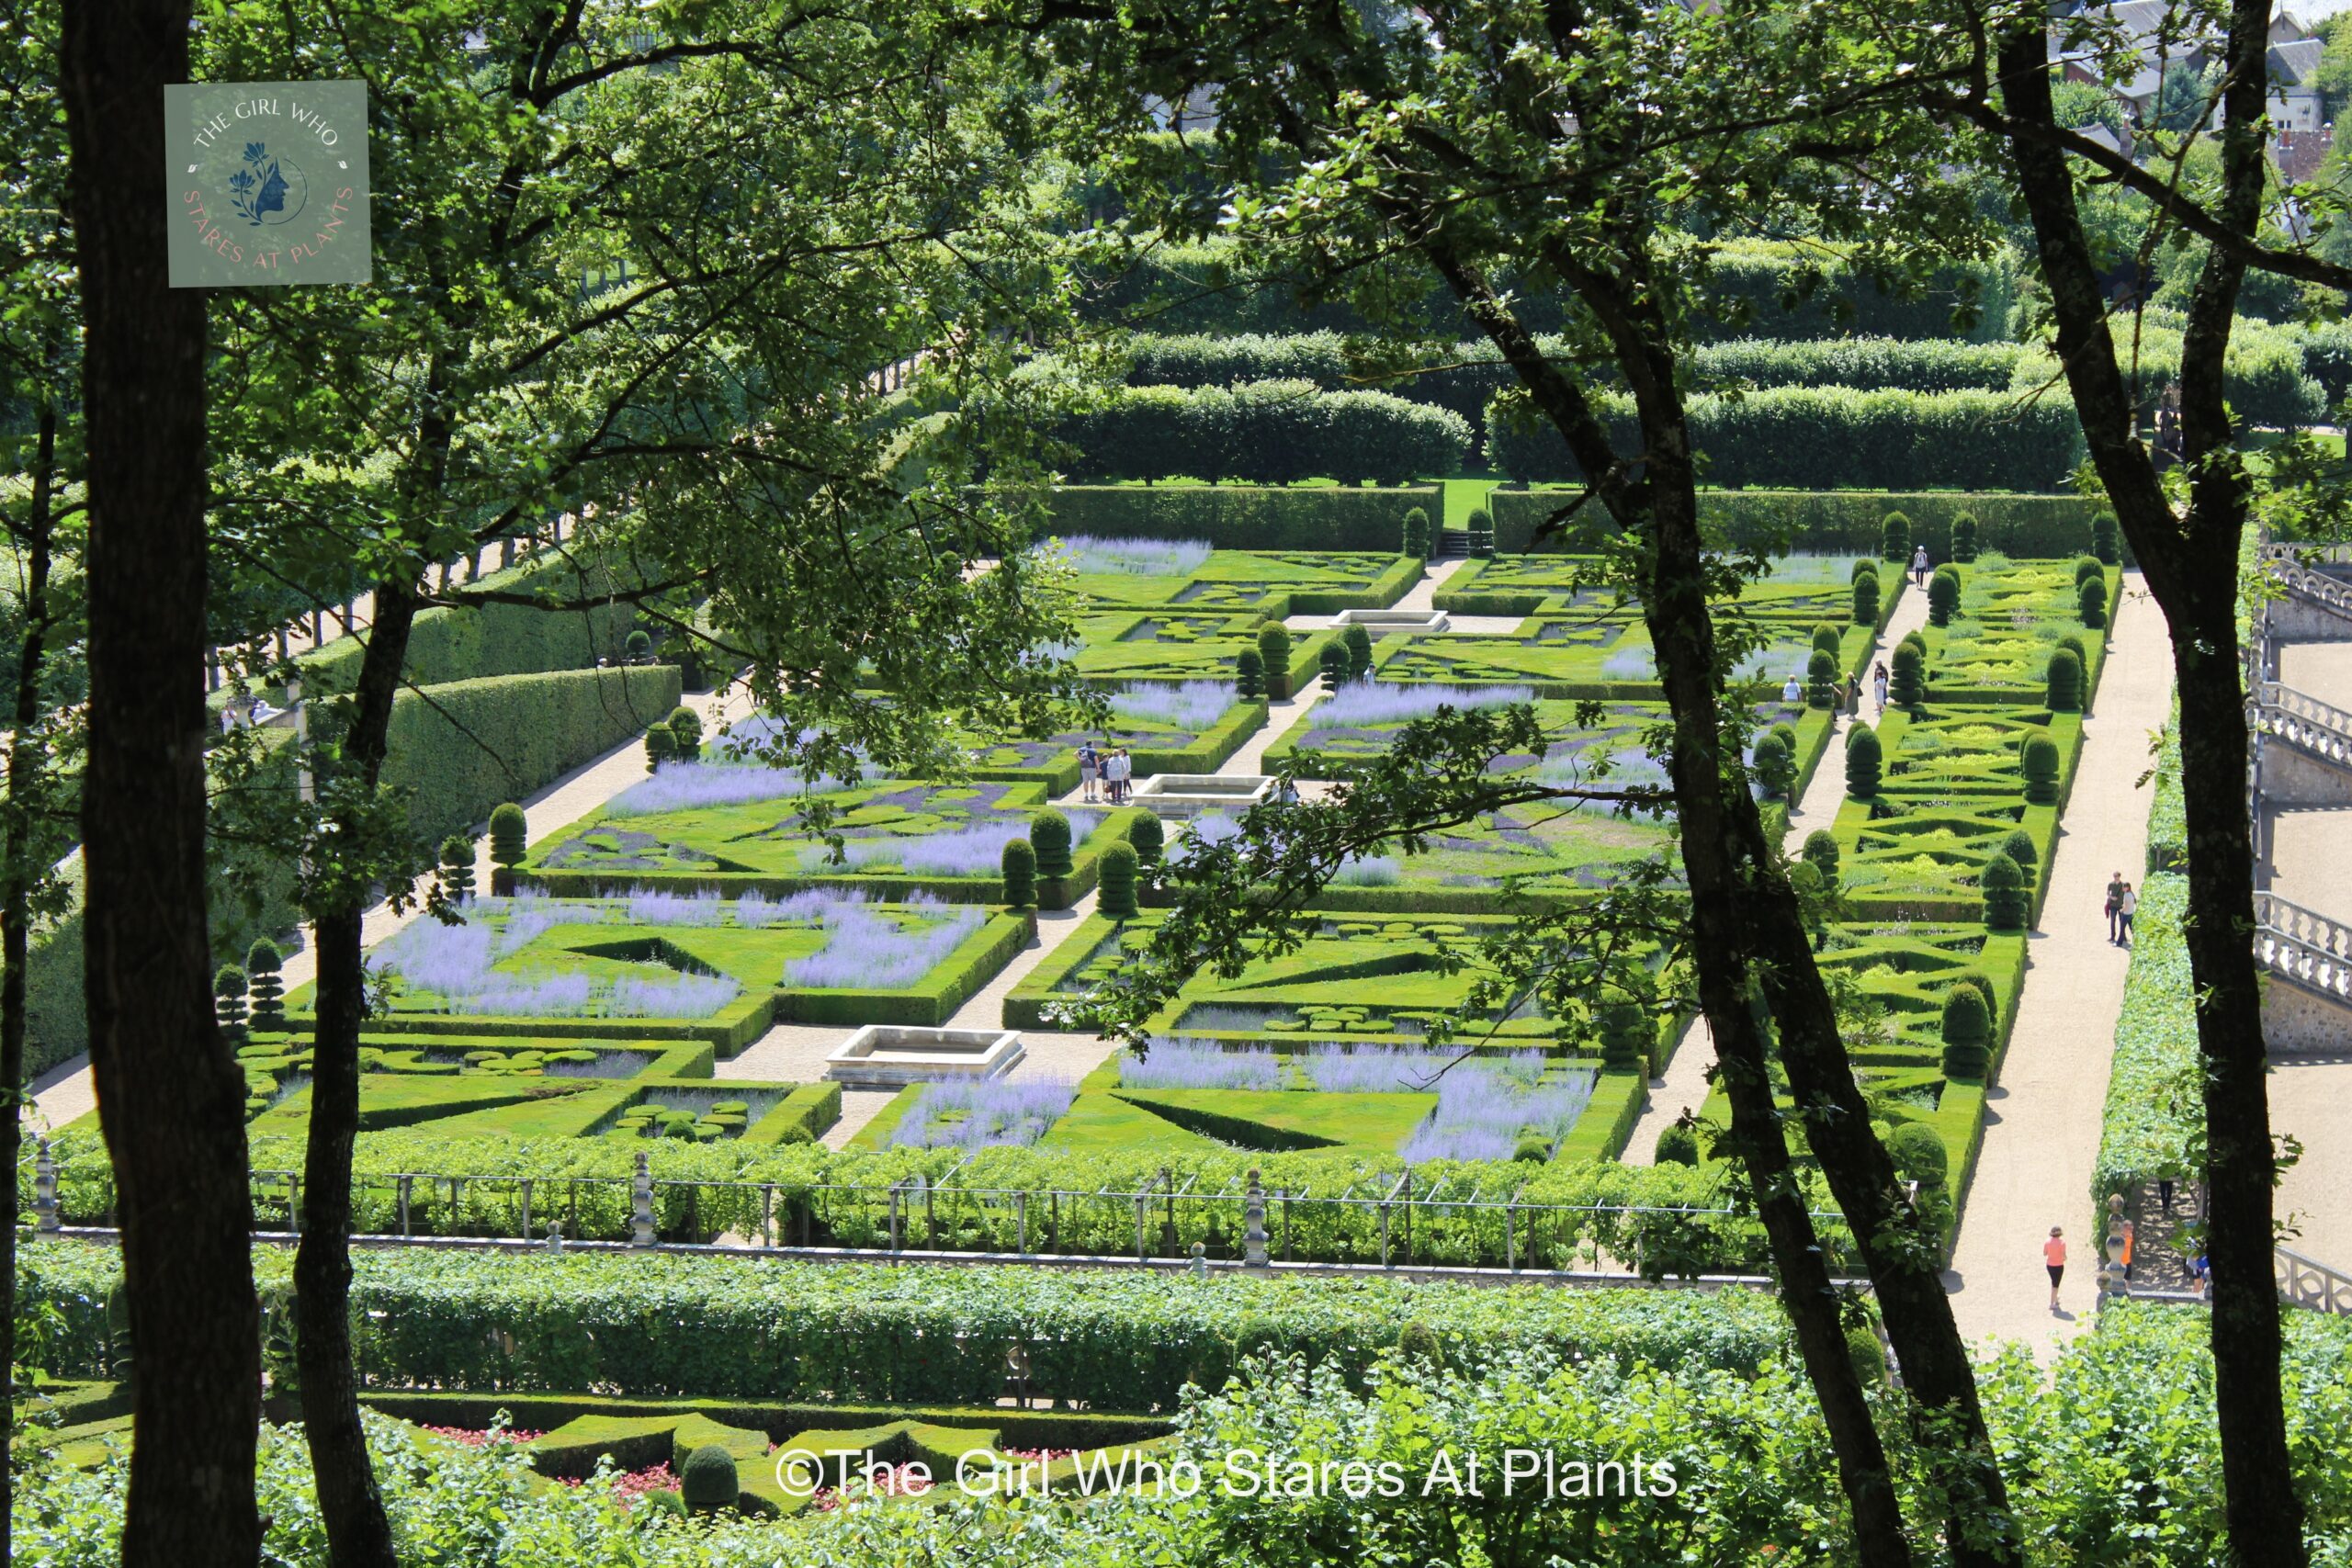
For example, these three photos, I think, demonstrate a great use of shapes. I took them when at the potager garden in Villandry, France. A potager garden is effectively a veg patch that has been designed to look pretty. And don’t these gardens look soooooo pretty? (Ps. I am creating my own potager garden, you follow my progress here).
These photos show how the designers have used a myriad of shapes to create their look. They have used squares and rectangles in lovely patterns which are similar to each other so they compliment, yet are so different. I love the symmetry of them. I especially like the central square in the centre of each little garden and the four main ‘highways’ that lead to it.
🥉Work out the scenic routes and the scenery
Once you have your highway, and your basic pattern, you can now have a think about the scenic routes. These are the footpaths which connect your spaces in your garden.
Whilst you’re doing this, you can consider where you want the scenery to be. By this I mean where are you going to put your plants? You may want flowerbeds but you may also want a few trees, or a veg patch. By the way, I don’t think having a smaller garden precludes you from either of these things. In fact, the right tree actually makes a small garden look bigger.
At this point you are not working out what plants you want, as that is a planting plan and comes later (my favourite bit!). Now, you’re just working out where you want to see plants in your garden. But the beauty of any garden is that you don’t necessarily need to have plants in the ground. You can do some amazing things with plants in pots and they are so versatile you can change them with the seasons. So if you have a lot of hard landscaping i.e. concrete/patio etc, that doesn’t stop you from having a lush garden.
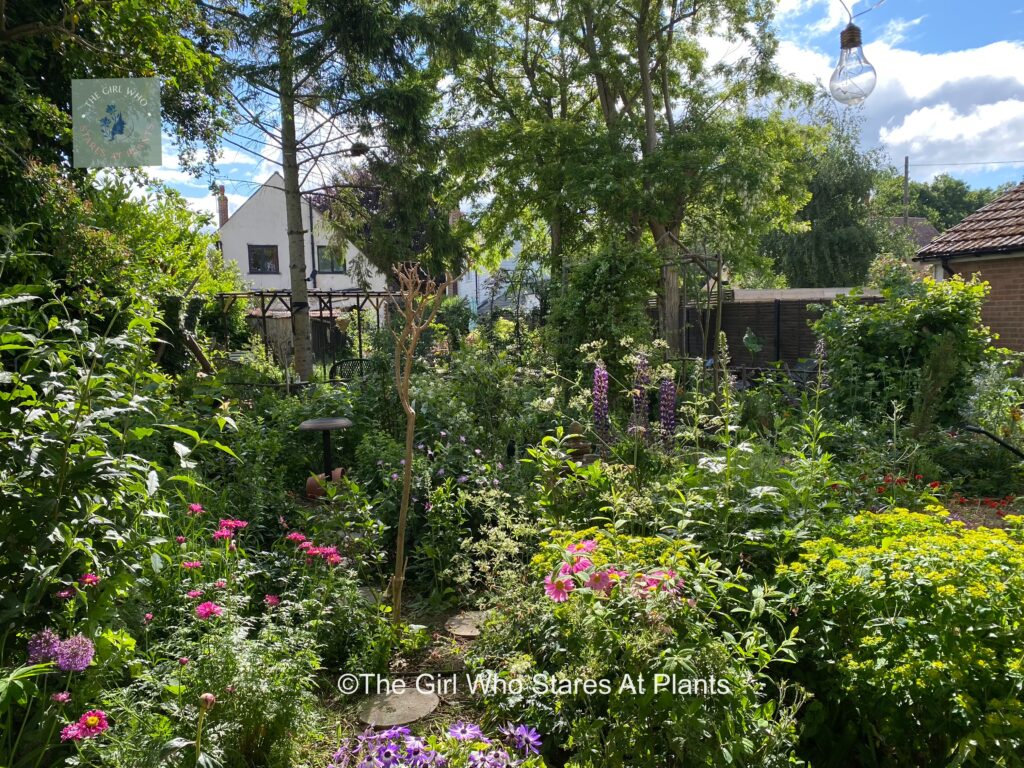
The picture on the left shows the scenic route of stepping stones that I placed within my flowerbed so I could walk through the space. They are big beds so I needed to be able to walk through them in order to maintain them. But I also wanted to feel like I was really enveloped by the plants.
So now, you should have a lovely logical layout!
This post has hopefully helped explain why a logical garden layout is so important to your garden design.
To be honest, it really doesn’t matter the order in which you plan your layout, just as long has you bear in mind the points above.
I would encourage you to just have a go. I remember what it was like when I first starting thinking about designing my own garden. It was daunting! I didn’t know where to start. But you do! And if you have any questions I would be pleased to help, so either leave a comment after this post, or click here to leave me a message.
Happy designing!
J.T. X

